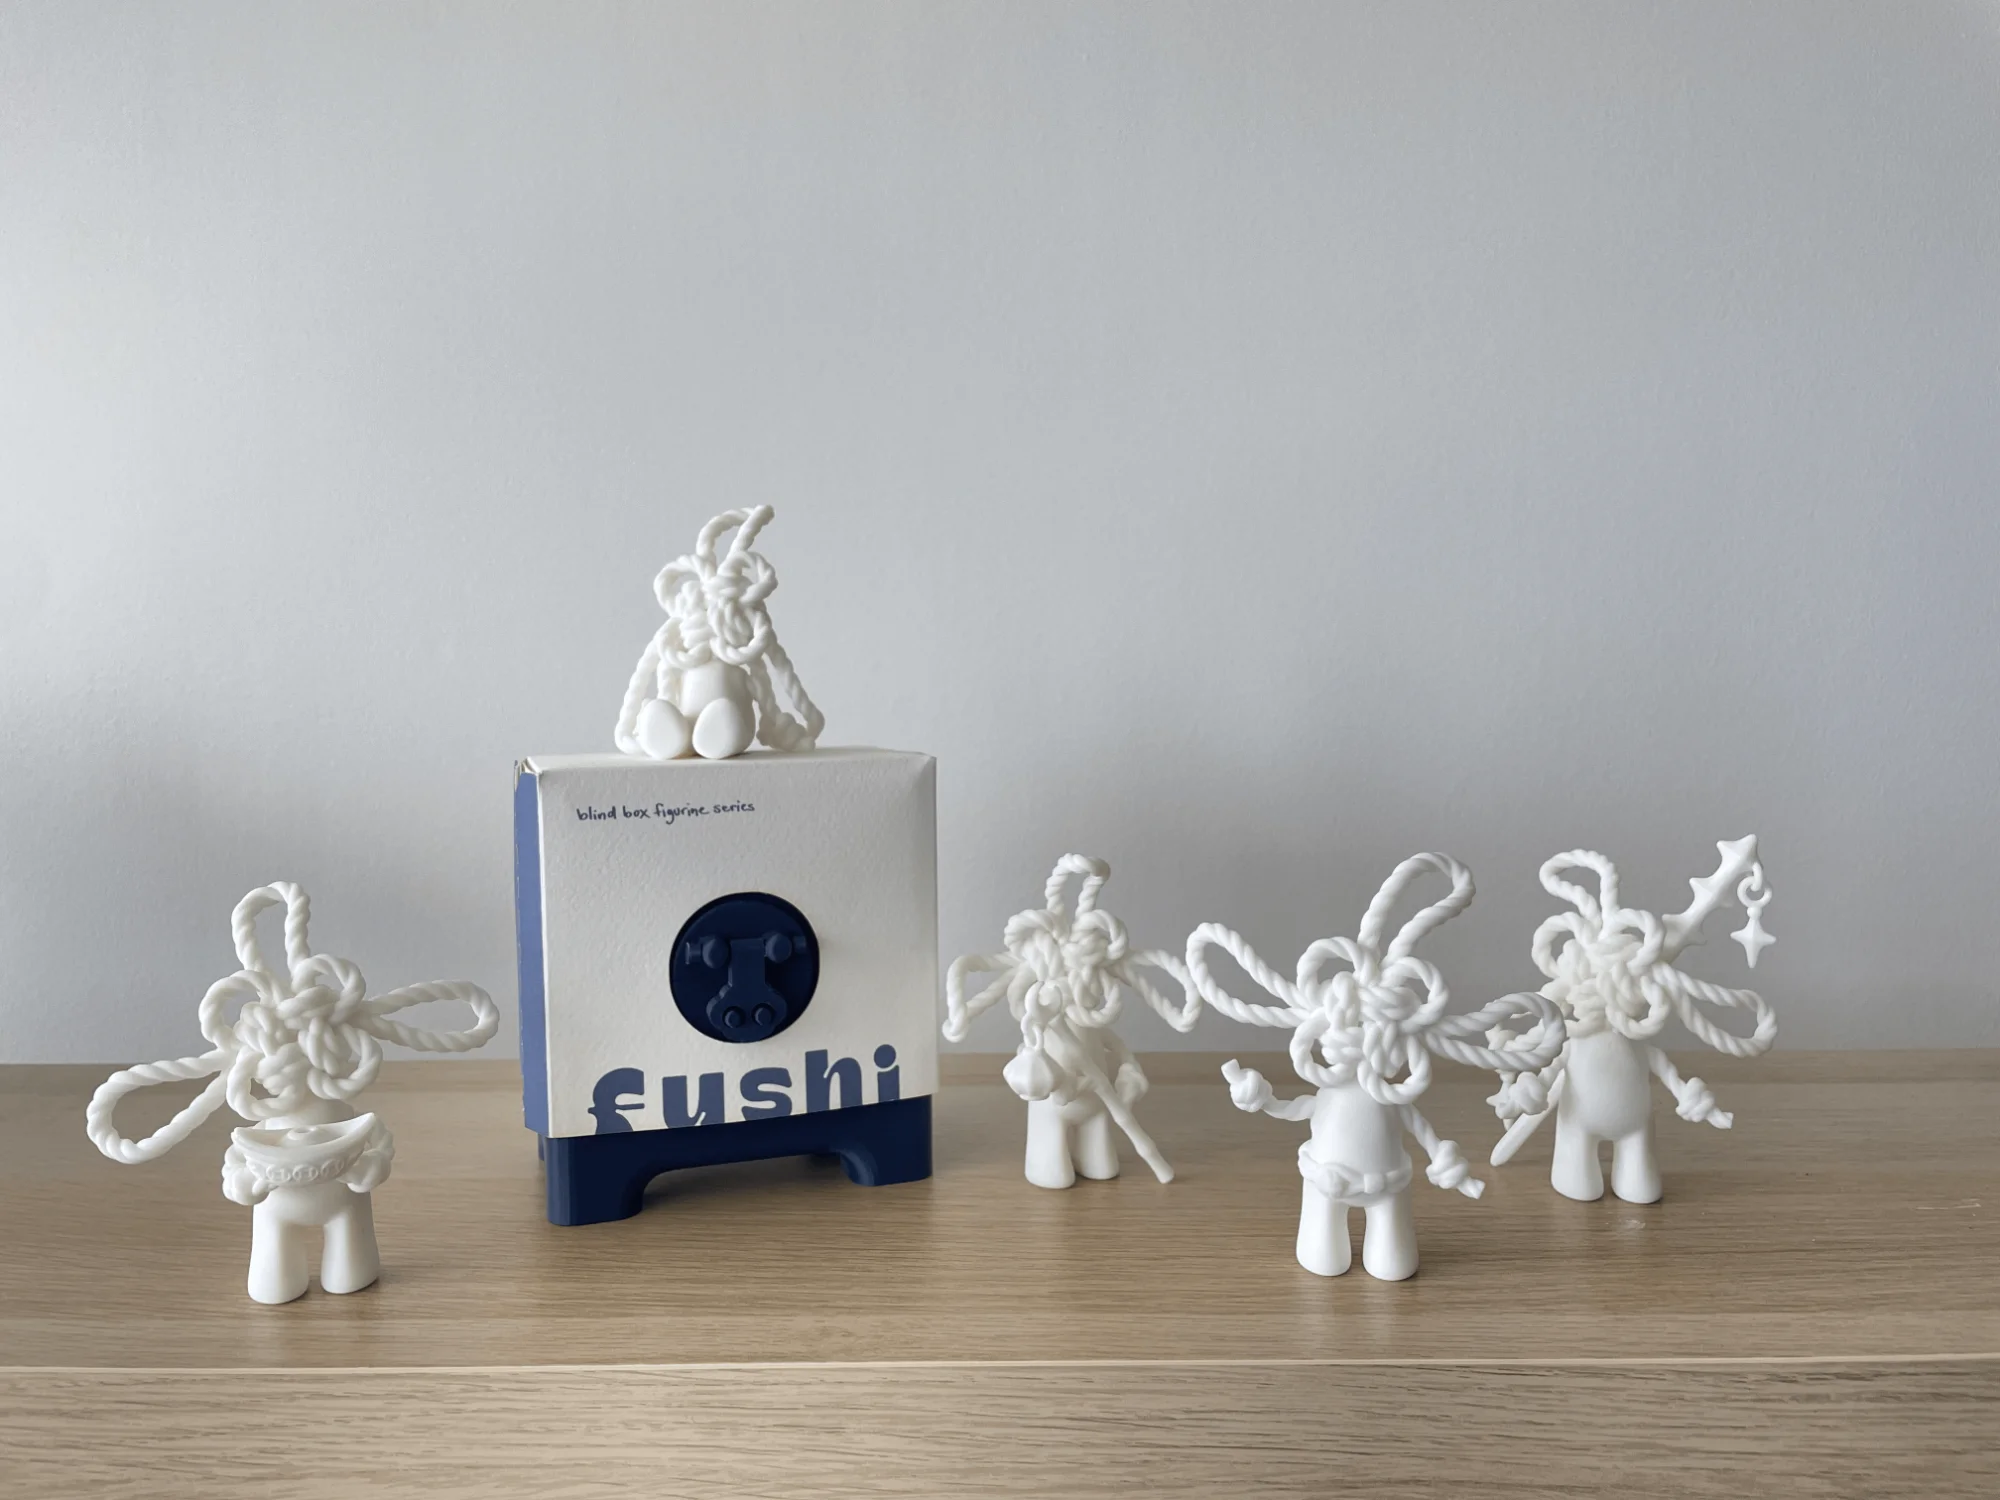
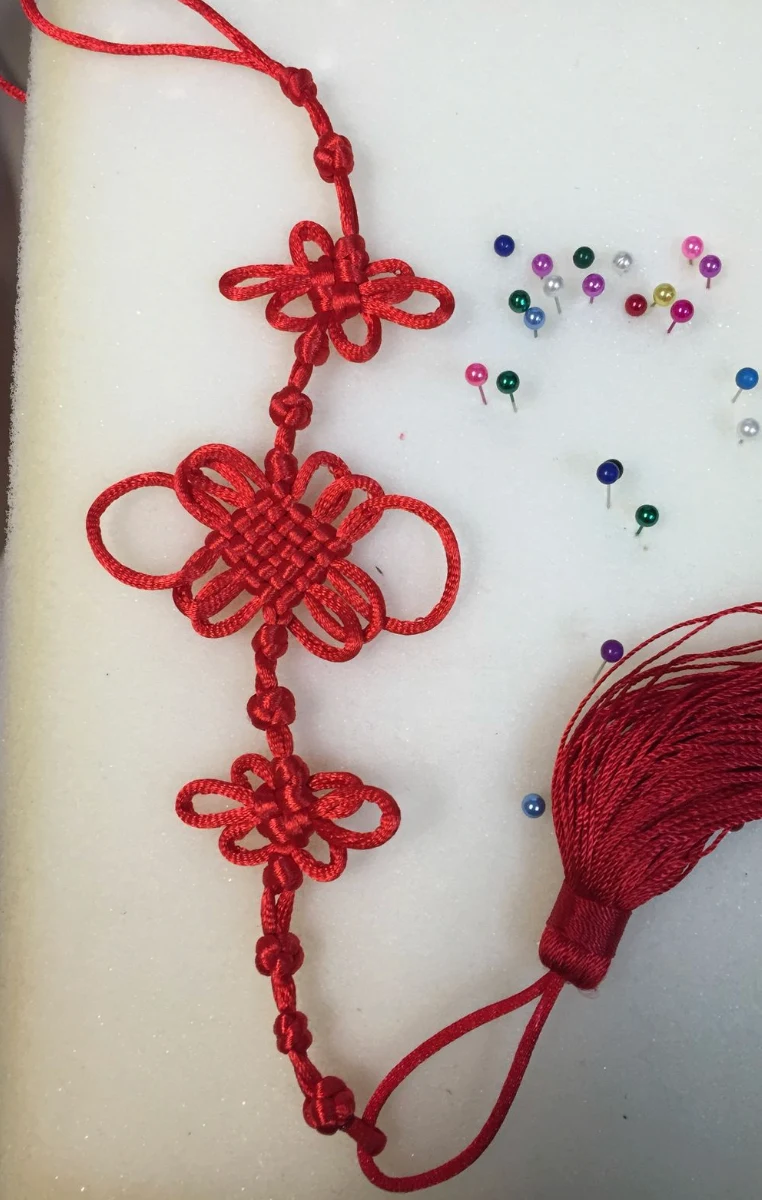
While looking for inspiration on Pinterest, I came across Chinese traditional knots.
I already knew about their associations with luck, continuity, and connection, but what caught my attention was their physical form.
The loops of the knot had an almost head-like quality. The shape felt expressive, as though it already had a personality hidden inside it.
That became my starting point.
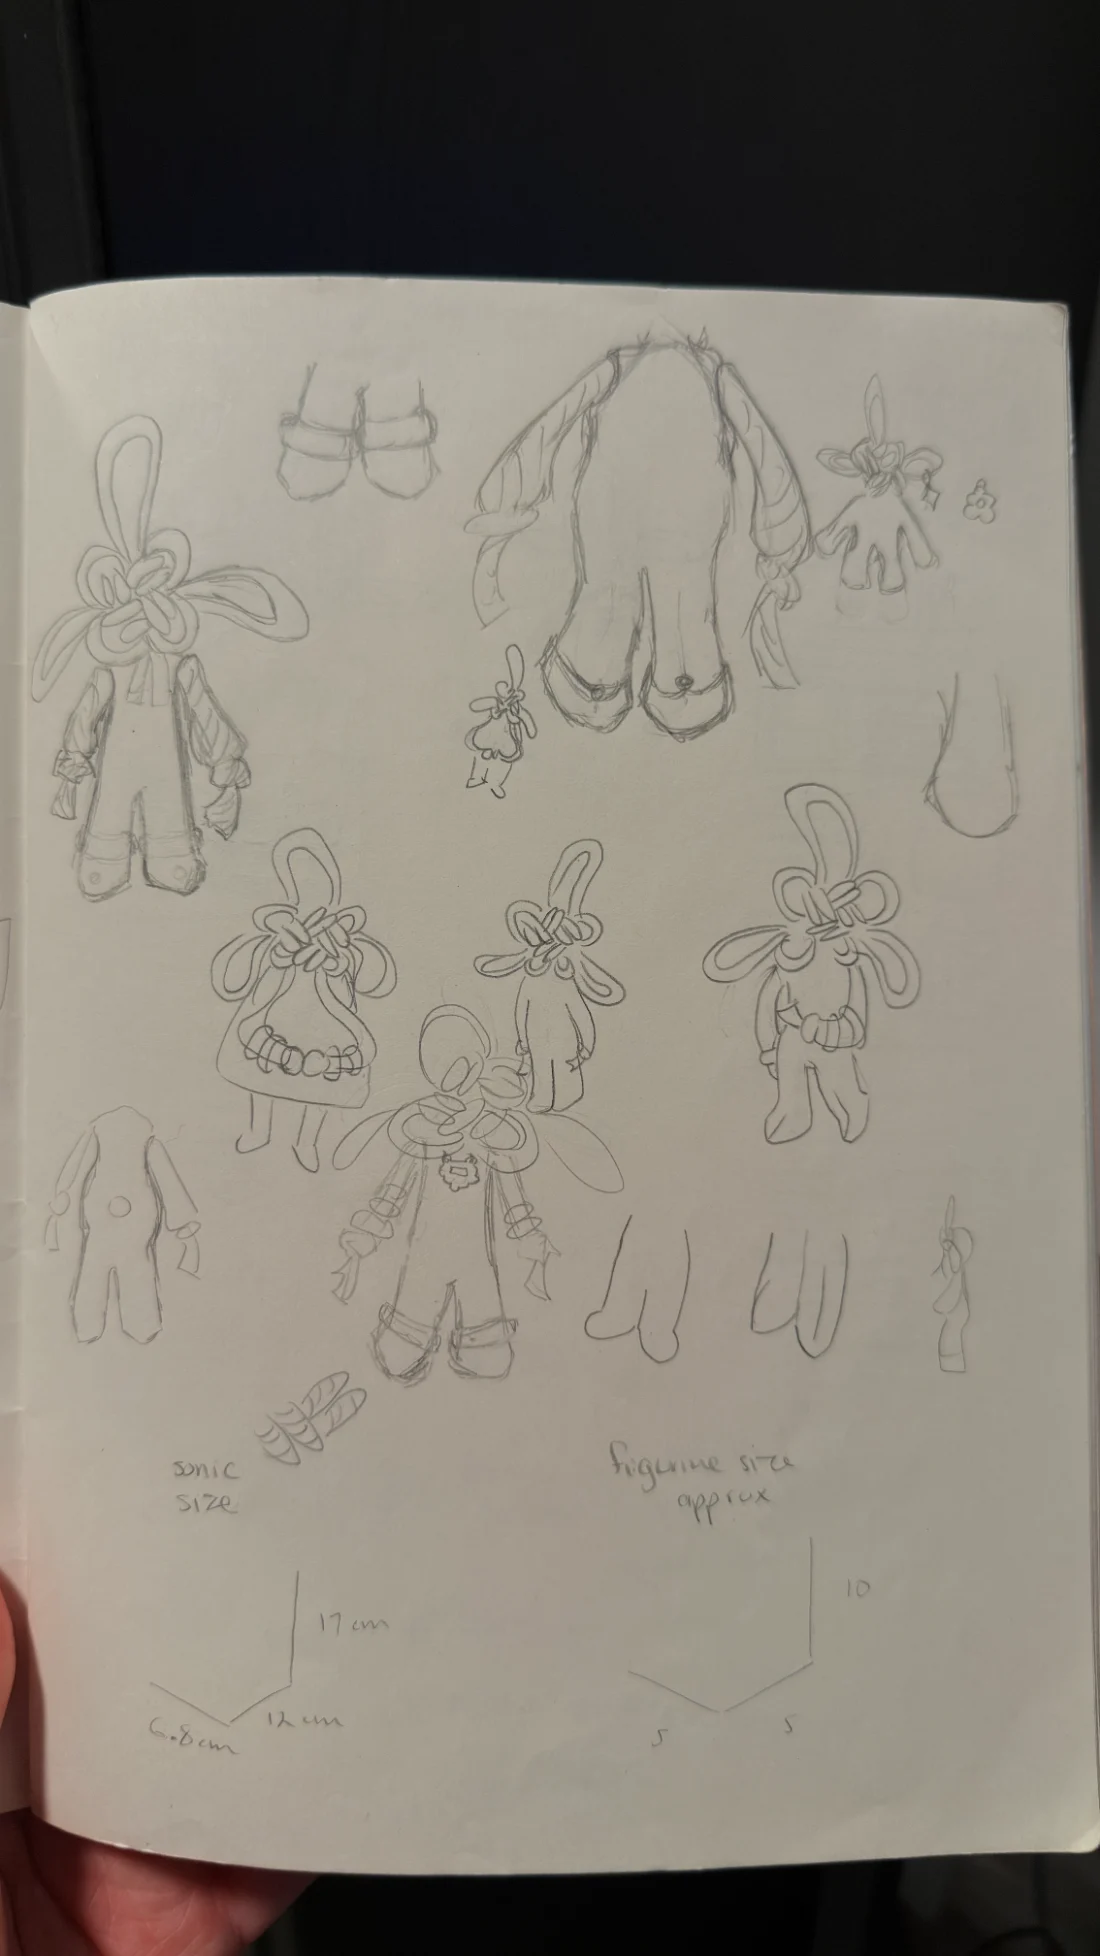
I began translating the knot’s structure into a character, using the proportions and simplicity of collectible figures such as Angelbaby and Smiski as inspiration for the body.
The goal wasn’t to reproduce the knot literally. I wanted to capture its recognizable character while transforming it into something that felt like it belonged in the world of blind-box collectibles.
Sketches
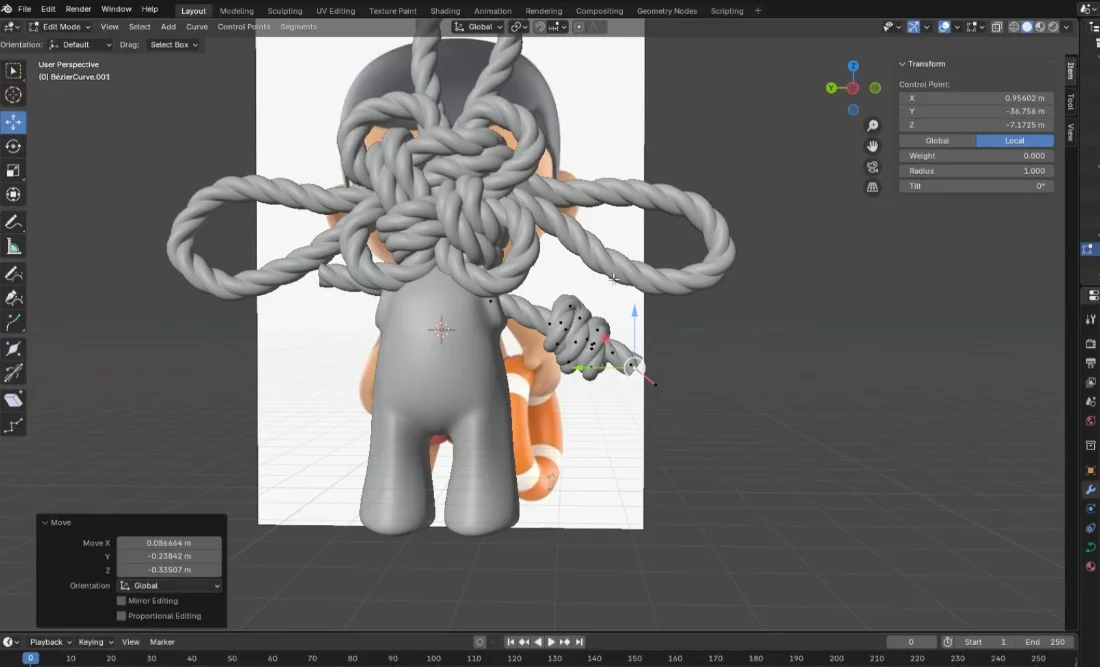
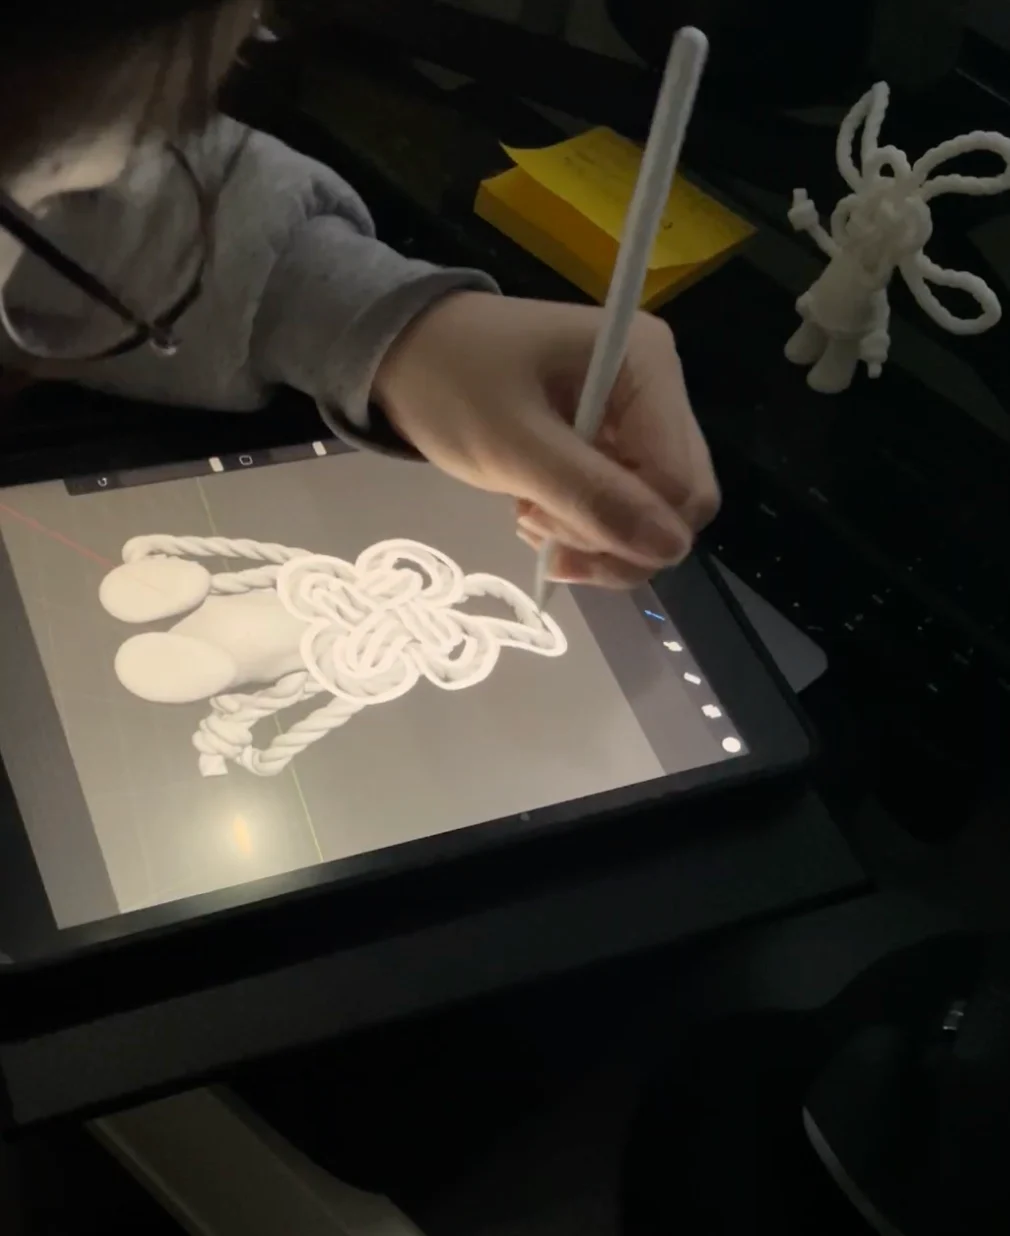
Modelling in Blender
03
From form to character
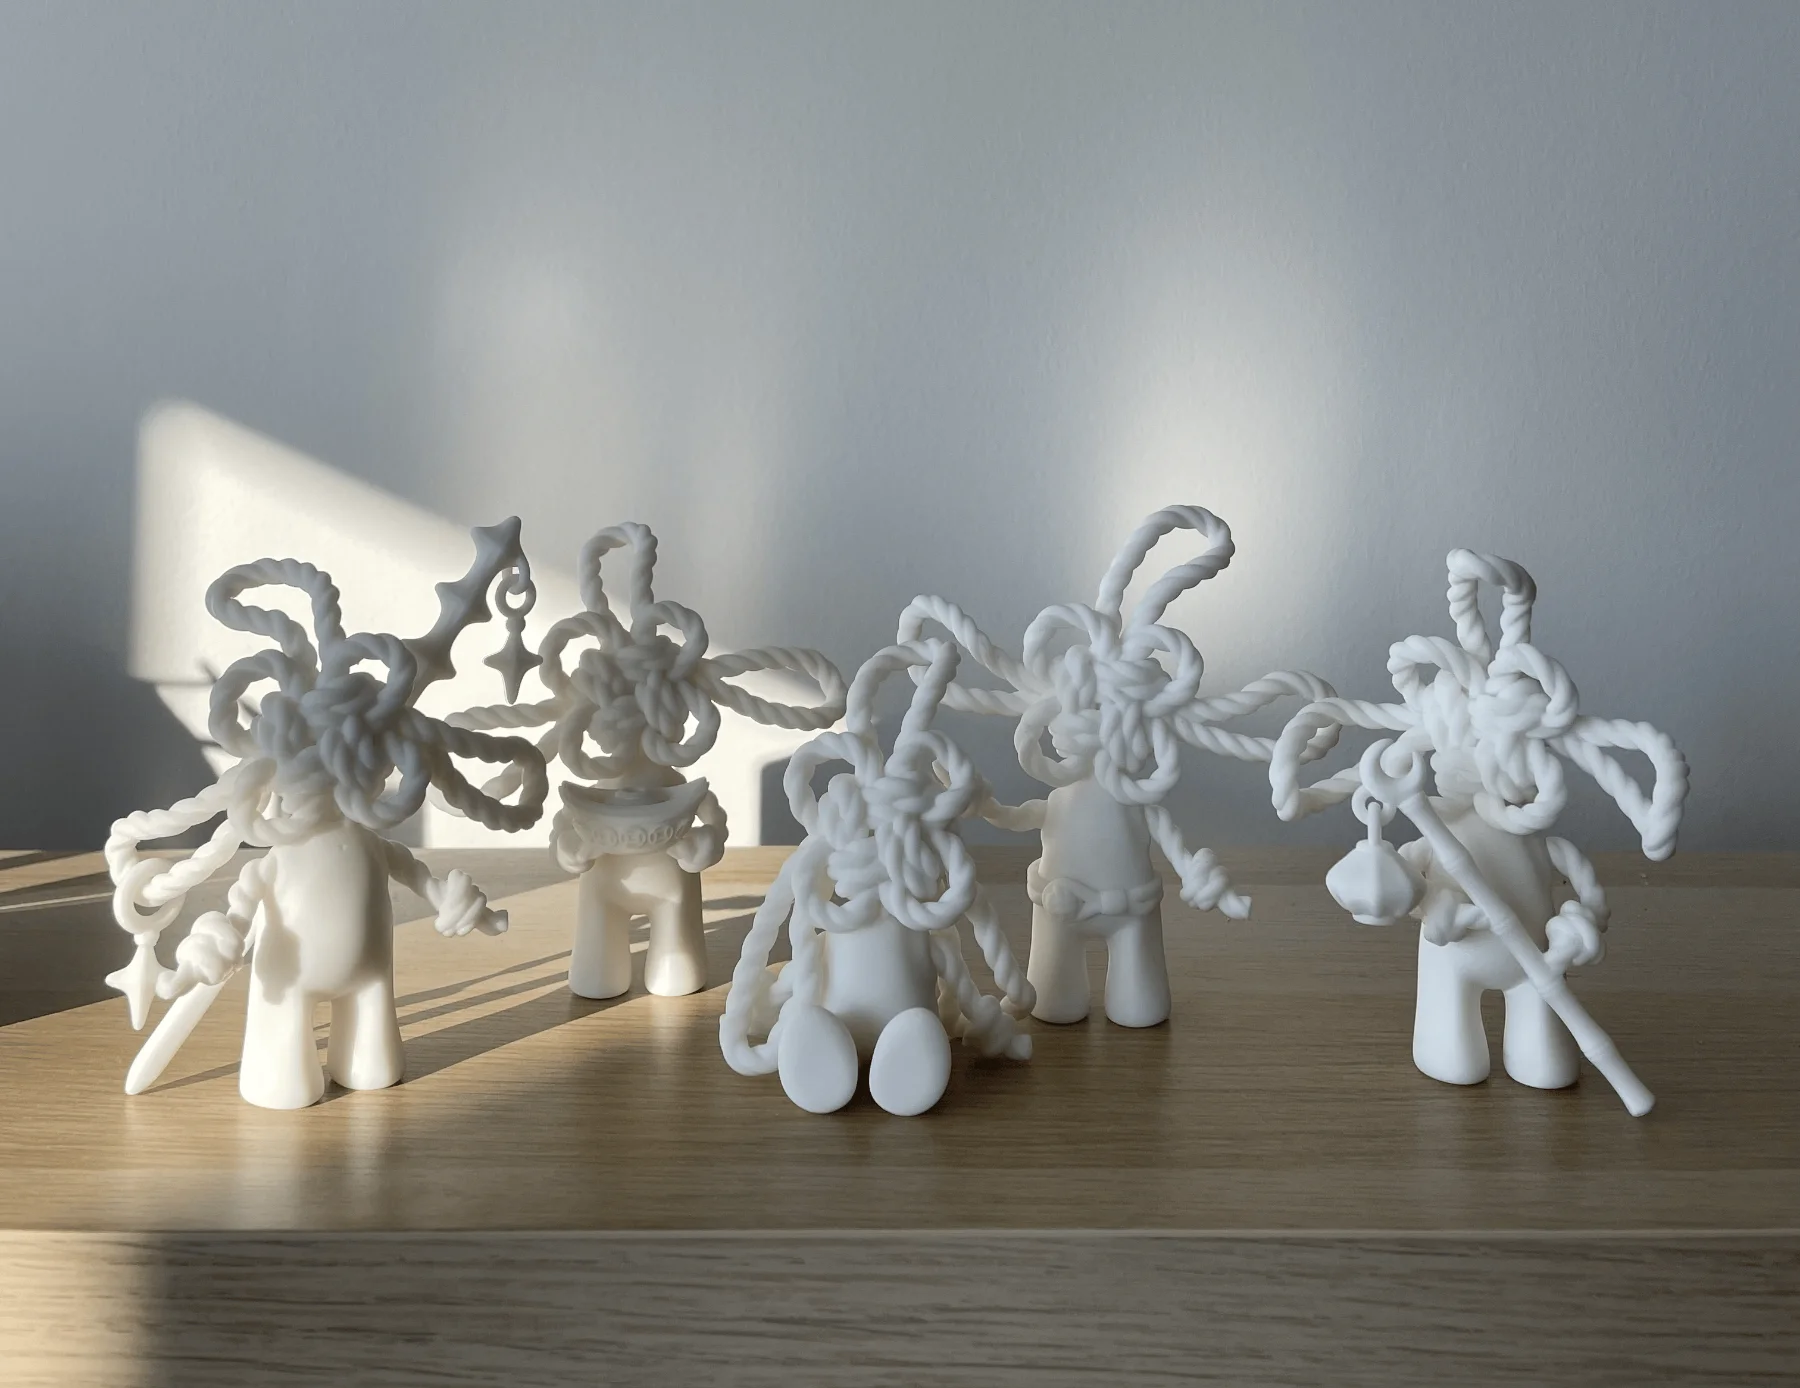
I explored multiple variations of the figurine in Blender, gradually figuring out what made the character feel right.
At this stage, I didn’t have the name FUSHI yet.
The meaning came later.
After developing the different versions of the character, I started thinking about what this little figure could actually represent, and that led me back to the original inspiration.
The figurine variations
Why FUSHI?
Tradition meets transformation.
The name came from two ideas that unexpectedly connected.
The first was the Chinese knot: a symbol associated with luck, continuity, and connection.
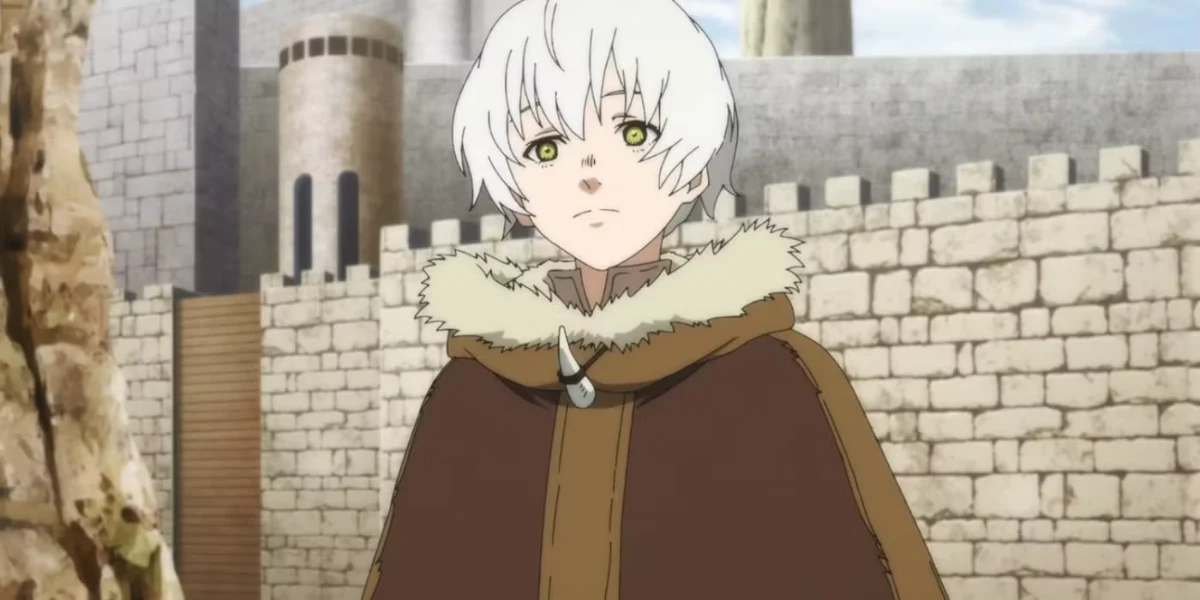
The second was Fushi, the main character from To Your Eternity.
Fushi begins as an empty vessel and gradually changes through experience, loss, and human connection.
That idea resonated with what I was doing.
The figurine itself had started as an empty form. Through different iterations, references, materials, and decisions, it gradually became a character with its own identity.
FUSHI became a vessel for translating tradition into something tangible.
The Chinese knot
Fushi, To Your Eternity
04
Making FUSHI real
Once the character felt right digitally, I wanted to see how it would exist as a physical object.
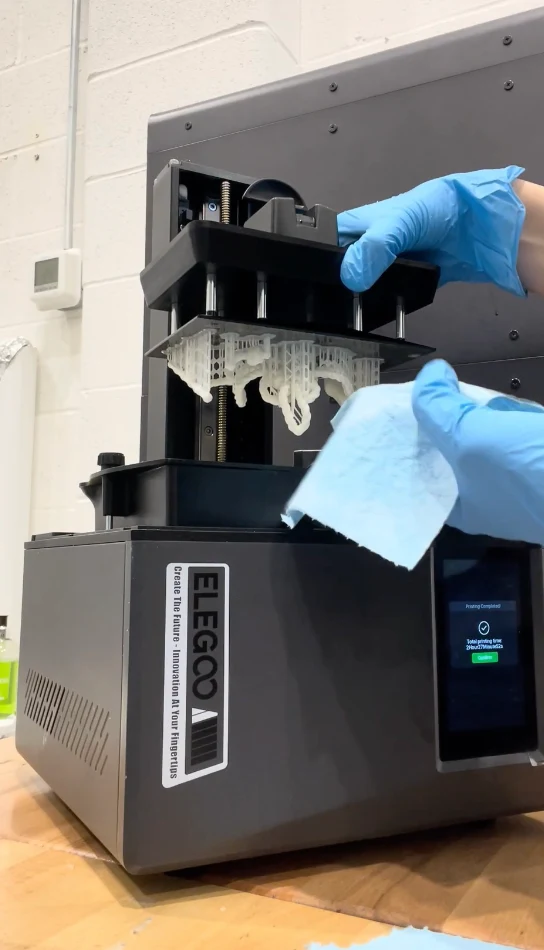
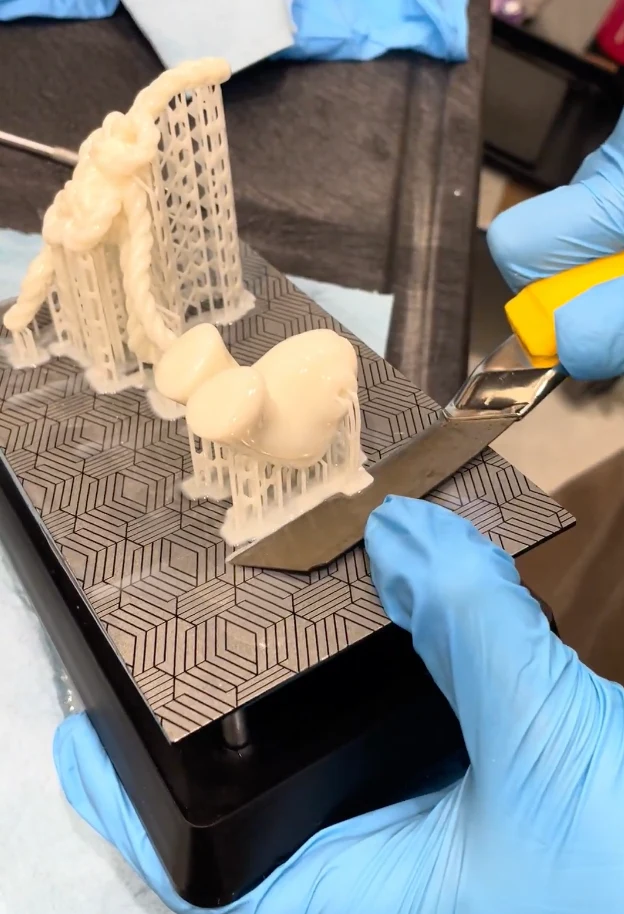
I resin 3D printed the figurine using manually created supports, keeping the natural colour of the resin rather than painting over it.
I really liked the raw quality of the printed material. Instead of treating the resin as something that needed to be hidden, I wanted its colour and finish to remain part of the character.
Off the printer
Removing from the plate
05
Designing the box
I didn’t want to create a generic cardboard box around the figurine.
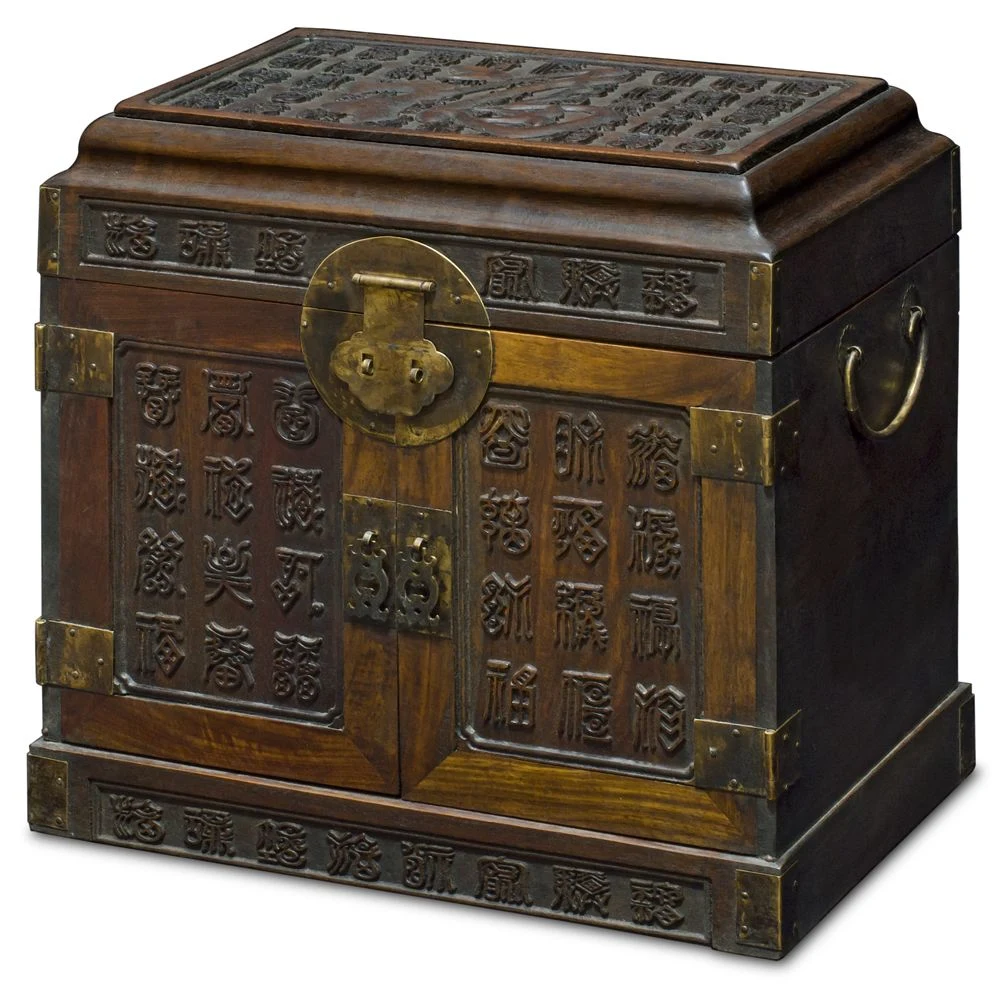
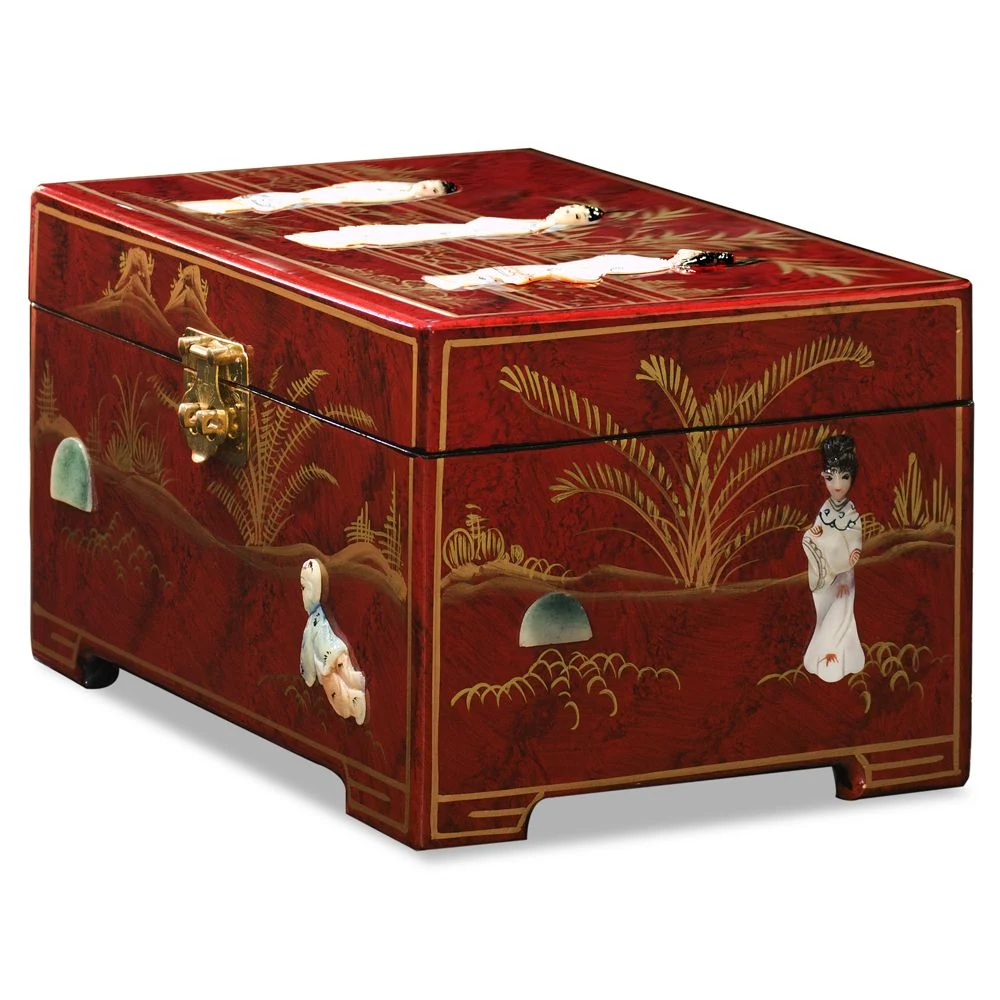
I started looking at traditional Chinese jewelry and chest boxes, particularly their distinctive metal latches.
The latch was what caught my attention.
It wasn’t simply functional. It gave the box a sense of identity.
I wanted to reinterpret that characteristic into the FUSHI box, creating a small physical detail that connected the contemporary collectible back to the traditional objects that inspired it.
Traditional chest
Jewelry box
Designing for the physical world
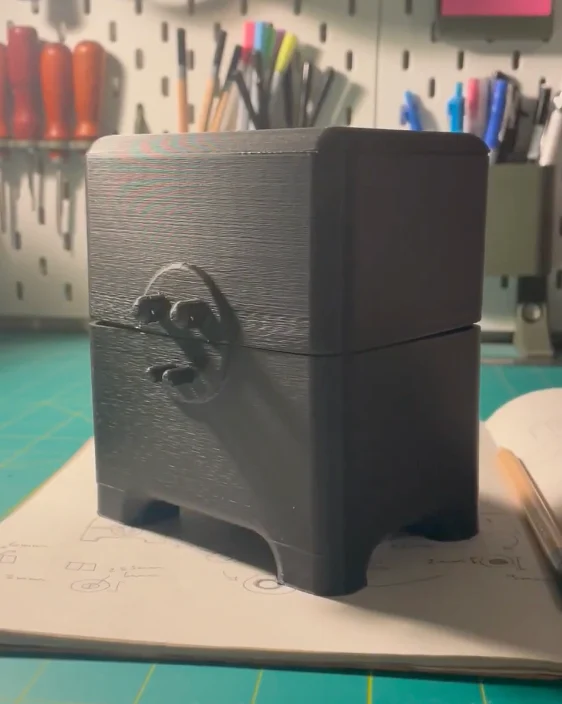
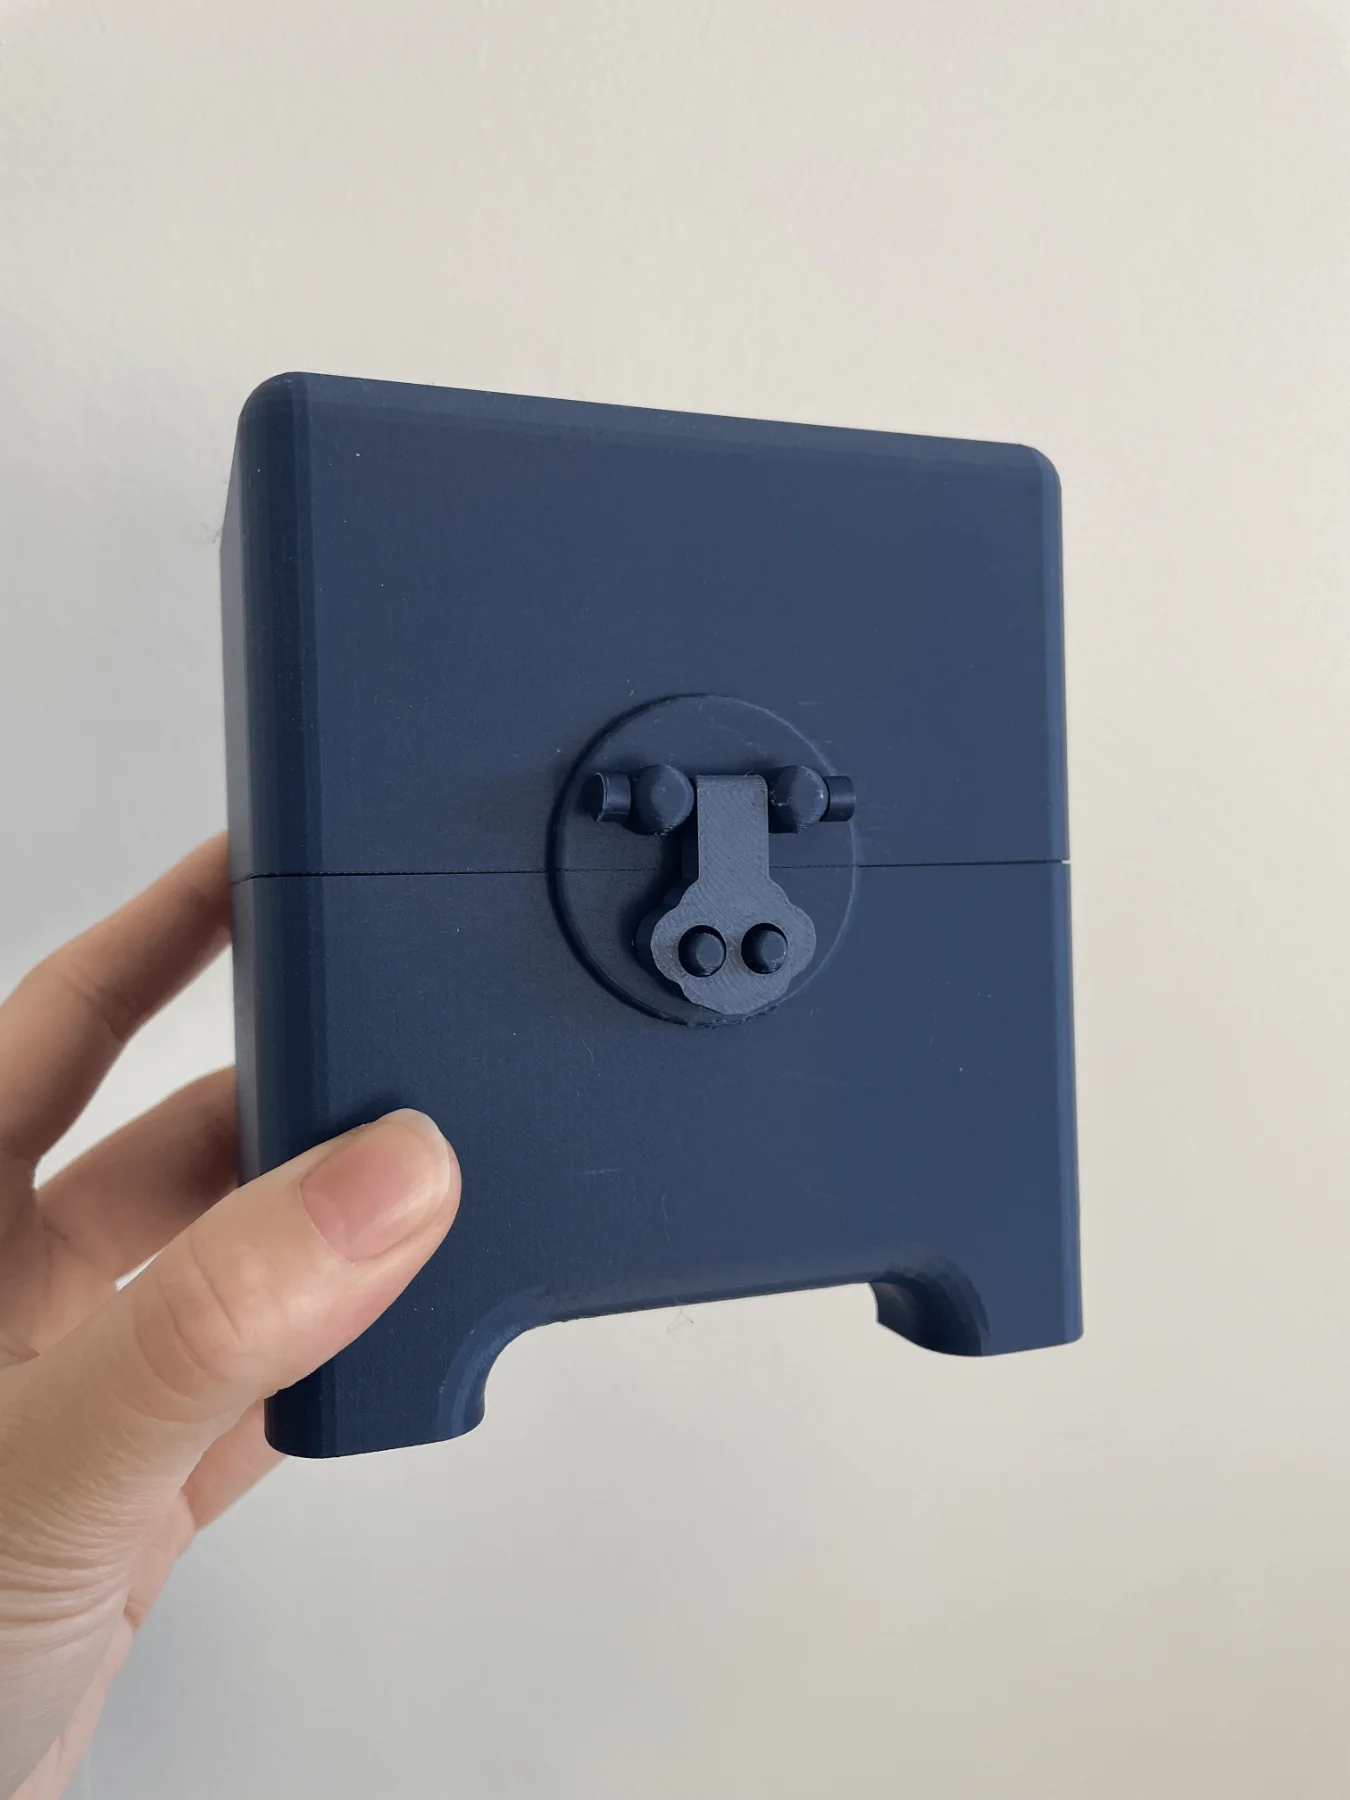
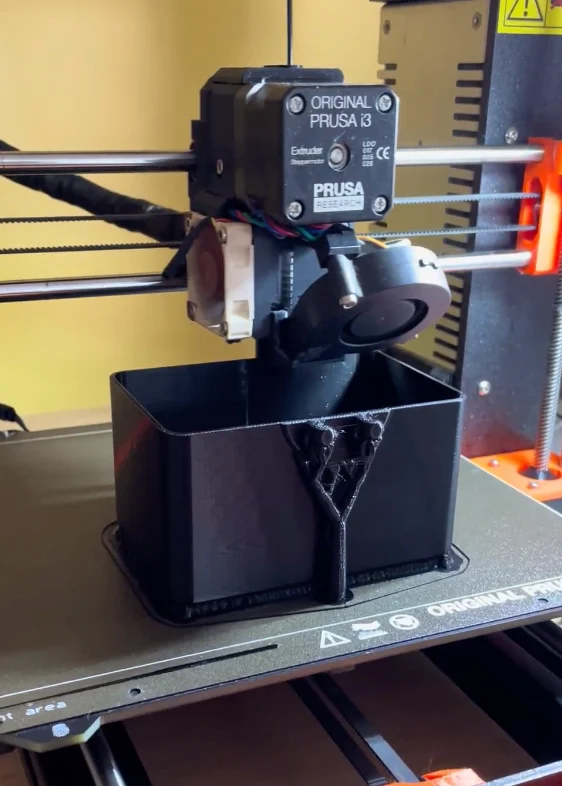
The box was designed in Blender and FDM 3D printed.
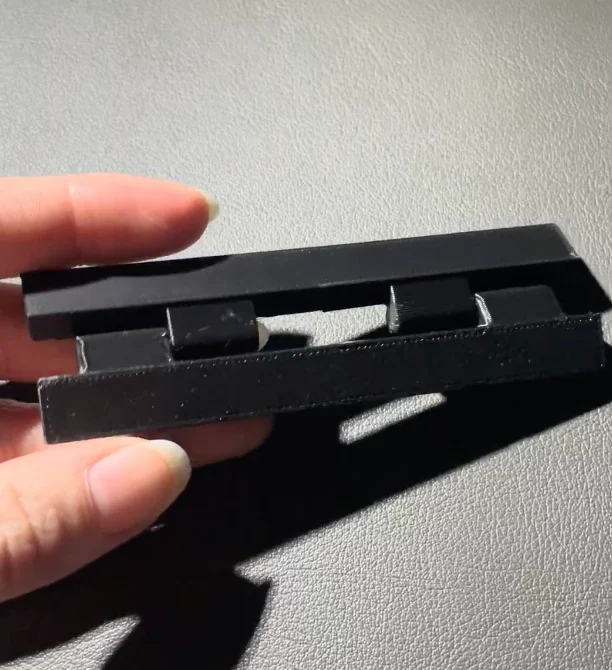
The hinge became one of the first things I had to physically test.
A hinge that looks correct in a digital model doesn’t necessarily behave correctly once printed.
So I made multiple variations, printed them, tested how they moved, and iterated on the design.
This became a recurring theme throughout the project:
I couldn’t rely on the digital model alone.
I had to make it, test it, and see what happened.
First version
Final version
06
From figurine to system
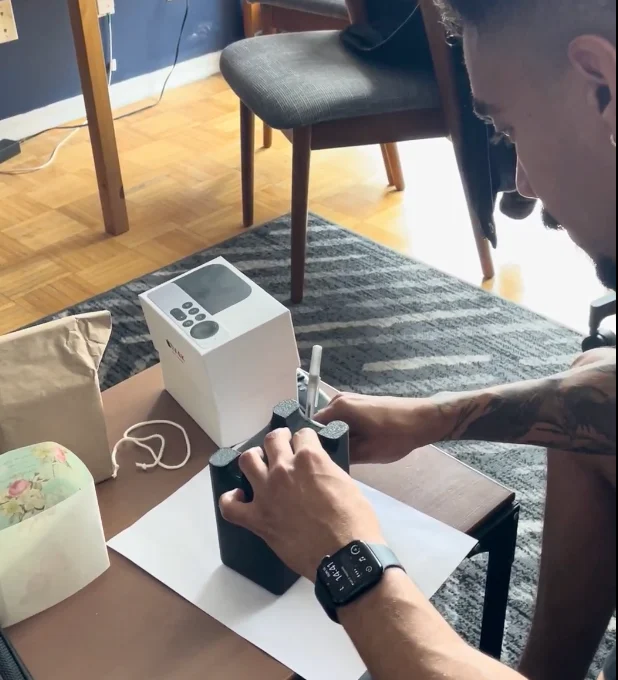
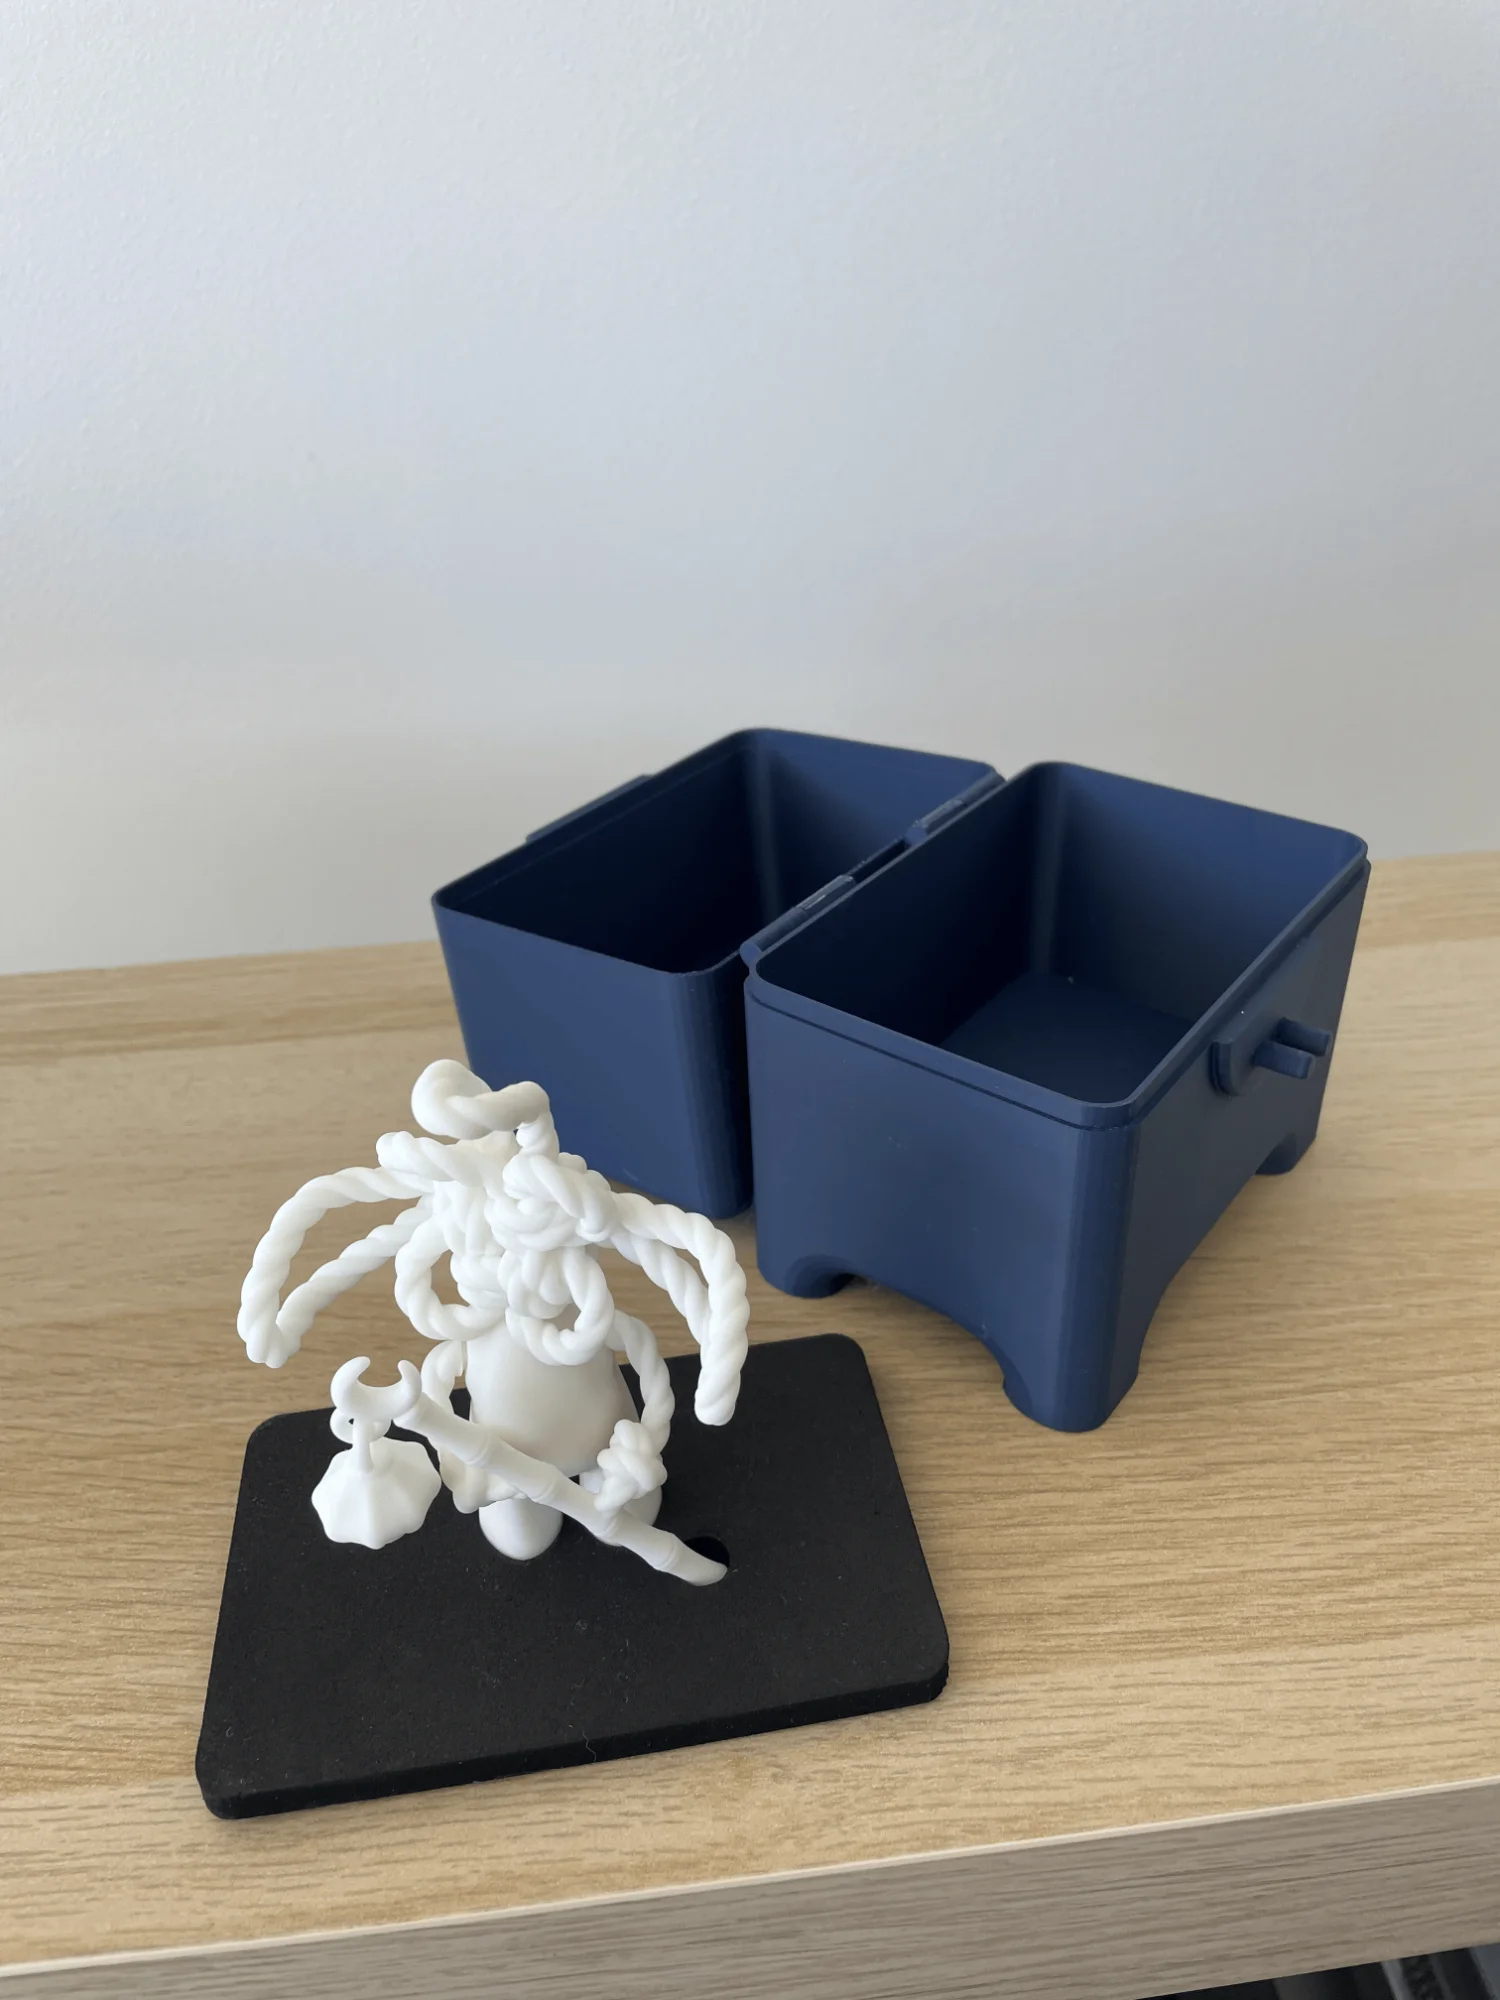
The figurine was also made in pieces, which meant the fit between the components and the packaging needed to be tested physically.
I produced multiple prototypes to work out the insert tolerances and make sure the figurine would sit securely inside the box.
This was one of the less visible parts of the project, but one of the most important.
A few millimetres could determine whether something felt secure, too tight, or loose.
The final collectible became a system of connected parts:
Figurine
Insert
FDM box
Outer packaging
Each part had to work with the others.
Hinge test
Printing the box
07
The packaging problem
I thought I had nailed it.
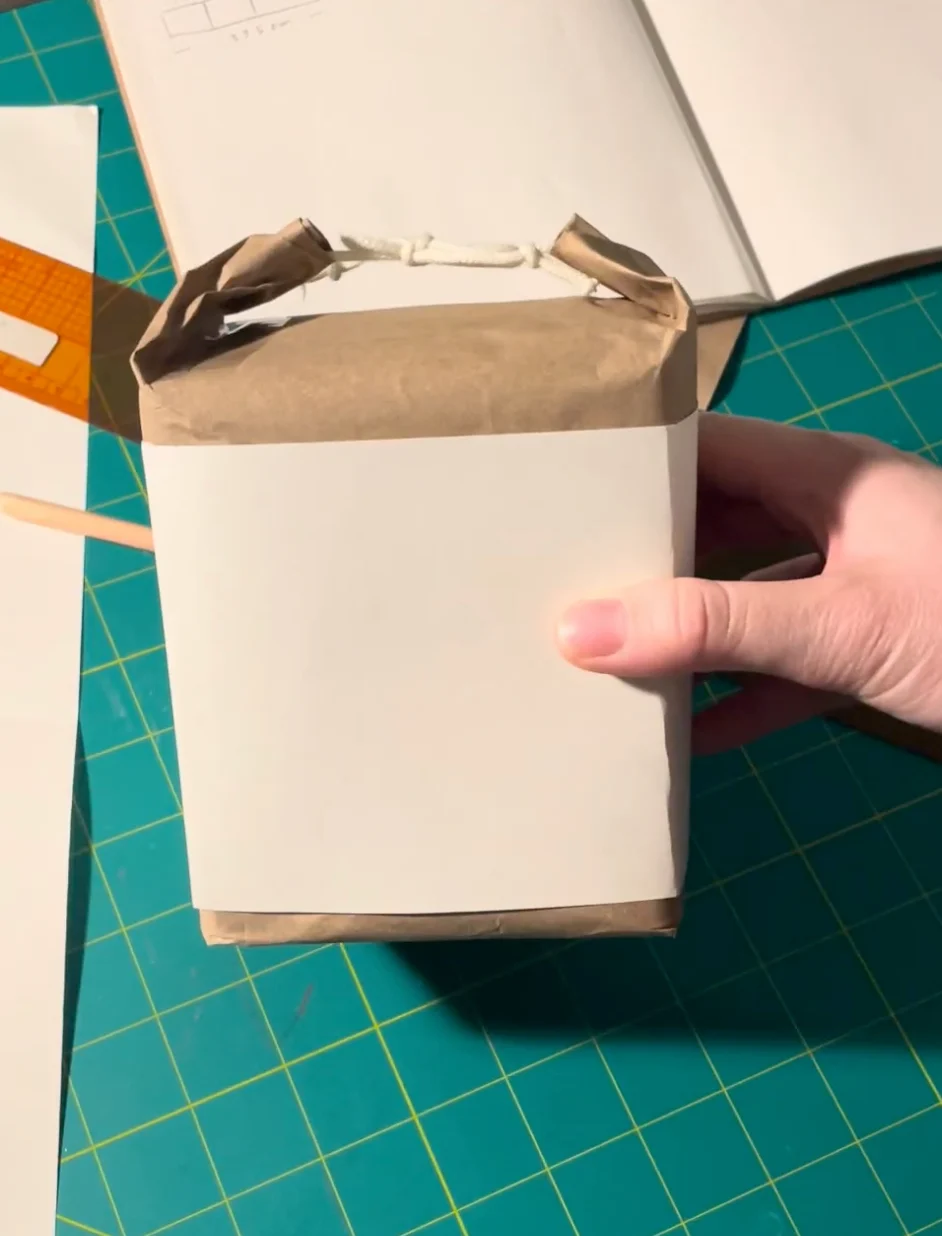
For the outer packaging, I initially imagined wrapping the entire box in paper, almost like a small paper lunch bag around the 3D-printed container.
It seemed straightforward.
But there was a problem.
The paper was going to cover the very feature that made the box special:
the Chinese-inspired latch.
This was one of the moments where getting another perspective completely changed the direction of the design.
The first idea, a paper lunch bag wrap
Designing with critique
I worked with Anyelo, Senior Art Director, to rethink the outer packaging.
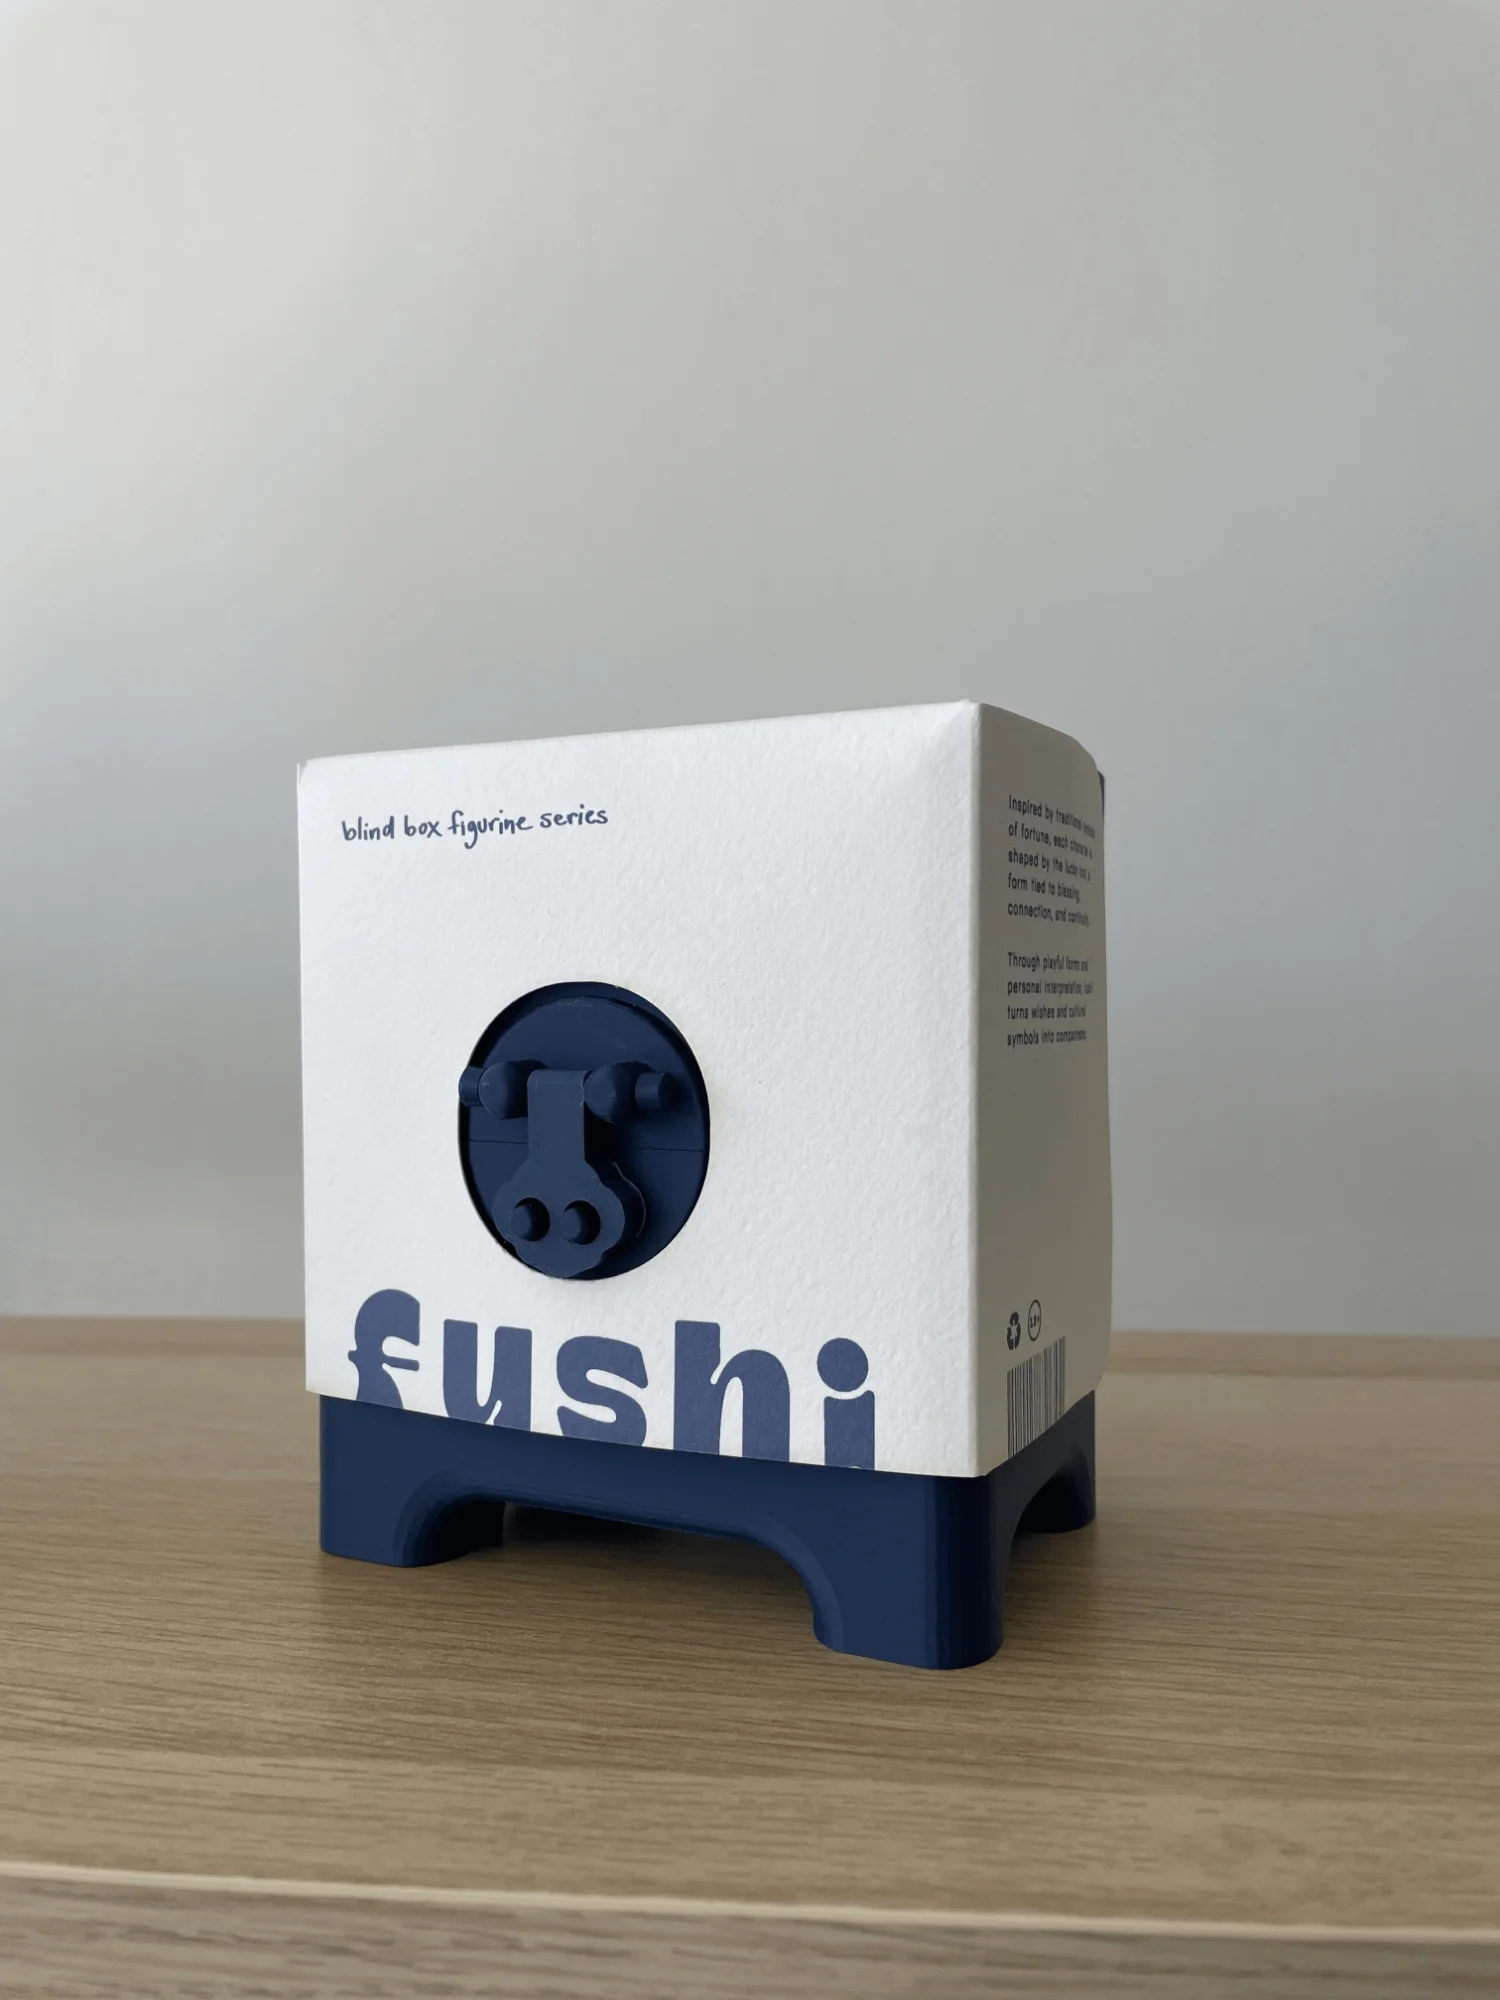
Instead of hiding the box, we looked at how the paper could frame and reveal it.
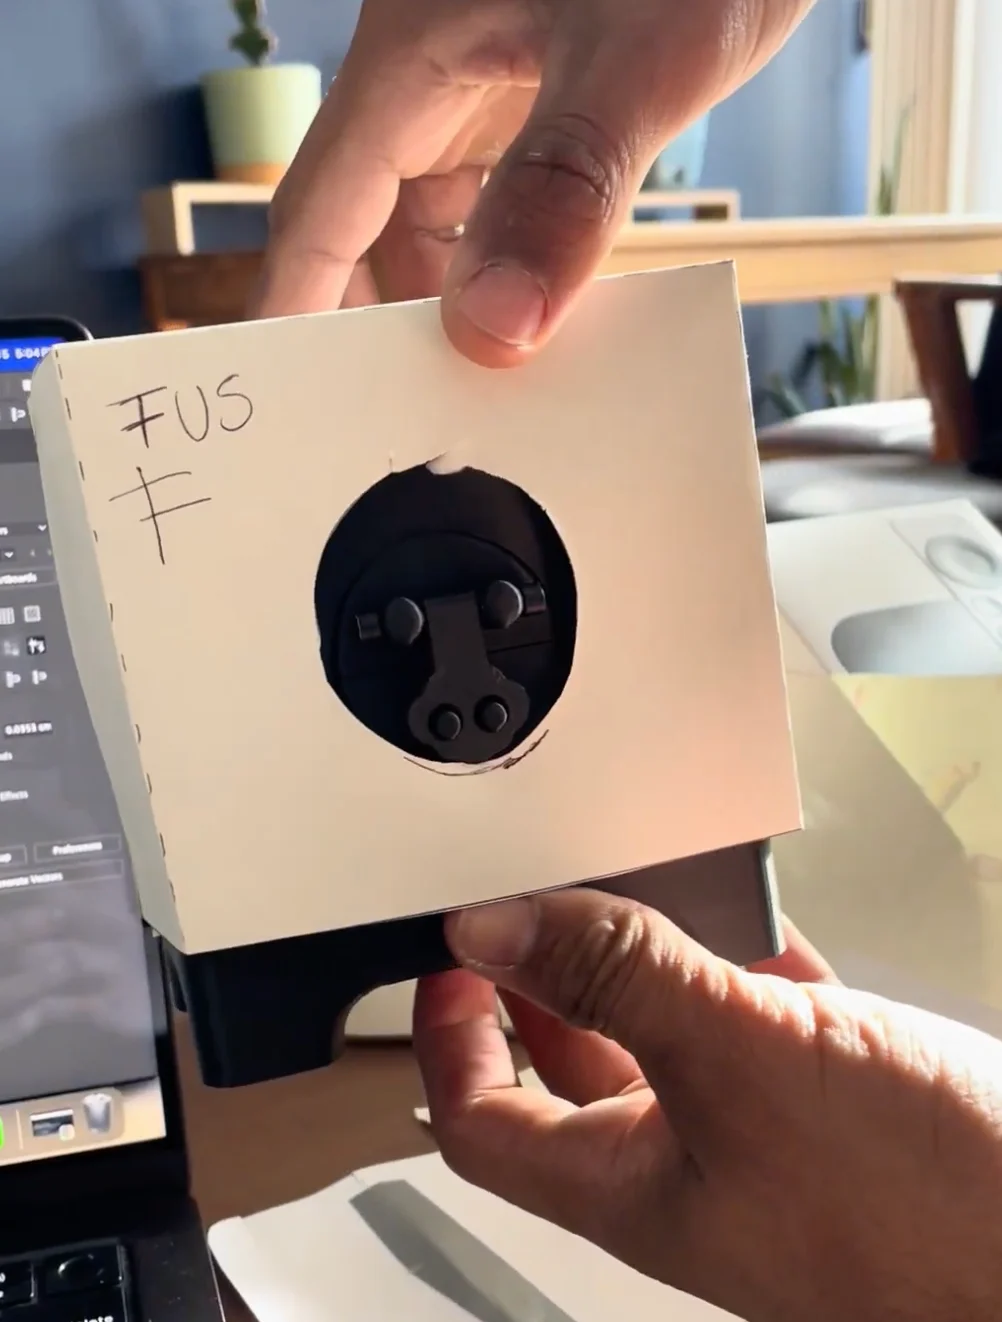
That meant reshaping the outer packaging around the latch so that the physical box remained visible.
It was a small change conceptually, but it changed the relationship between the packaging and the object.
The packaging stopped being something wrapped around the box.
It became part of the experience of revealing the box.
Working through the critique
Revealing the latch
Making the outer packaging
I had no previous packaging-design experience, so I approached this part differently from the way I approached the 3D modeling.
I love blind boxes, but after seeing so many of them, I started noticing that they can begin to look and feel the same.
I didn’t want to simply reproduce that visual language.
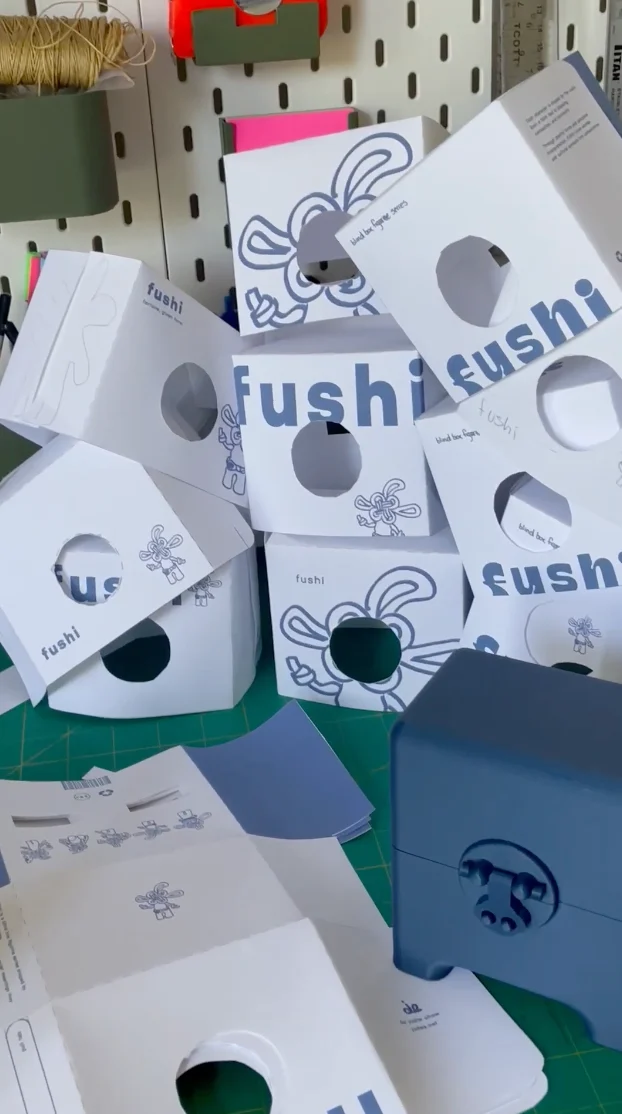
Instead, I started channeling hand-drawn elements into the packaging, marks and forms that felt more natural to me.
The result was intentionally more playful and personal.
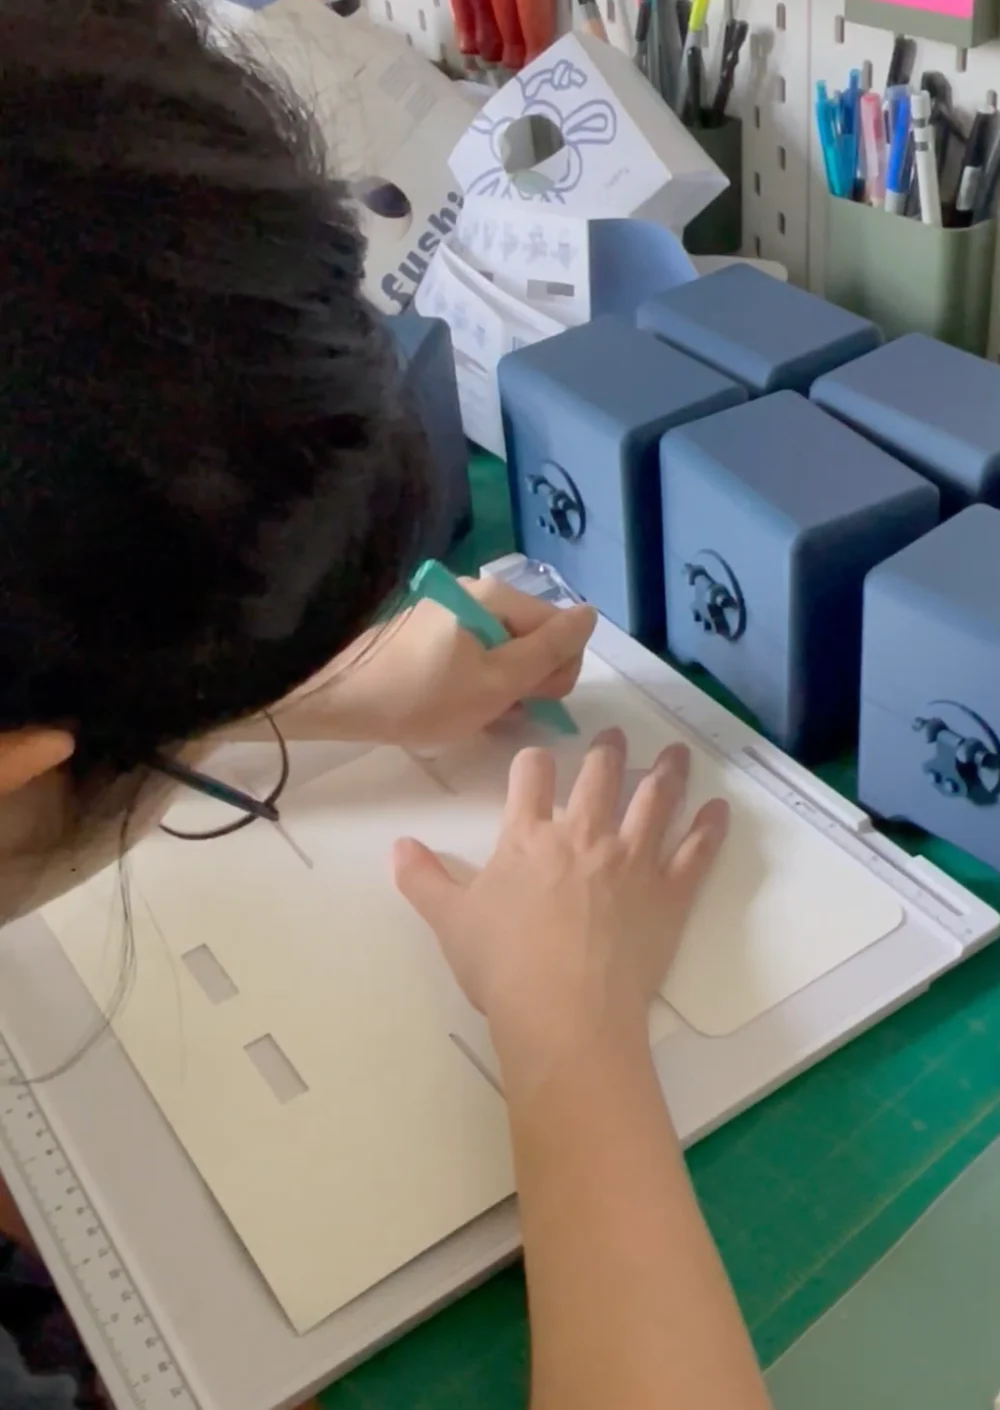
I also added a serrated pull tab, so the outer paper packaging comes off easily. I took the idea from a Costco chicken tenders box that worked the same way, and built it into the FUSHI packaging.
Drawing the artwork
Paper iterations
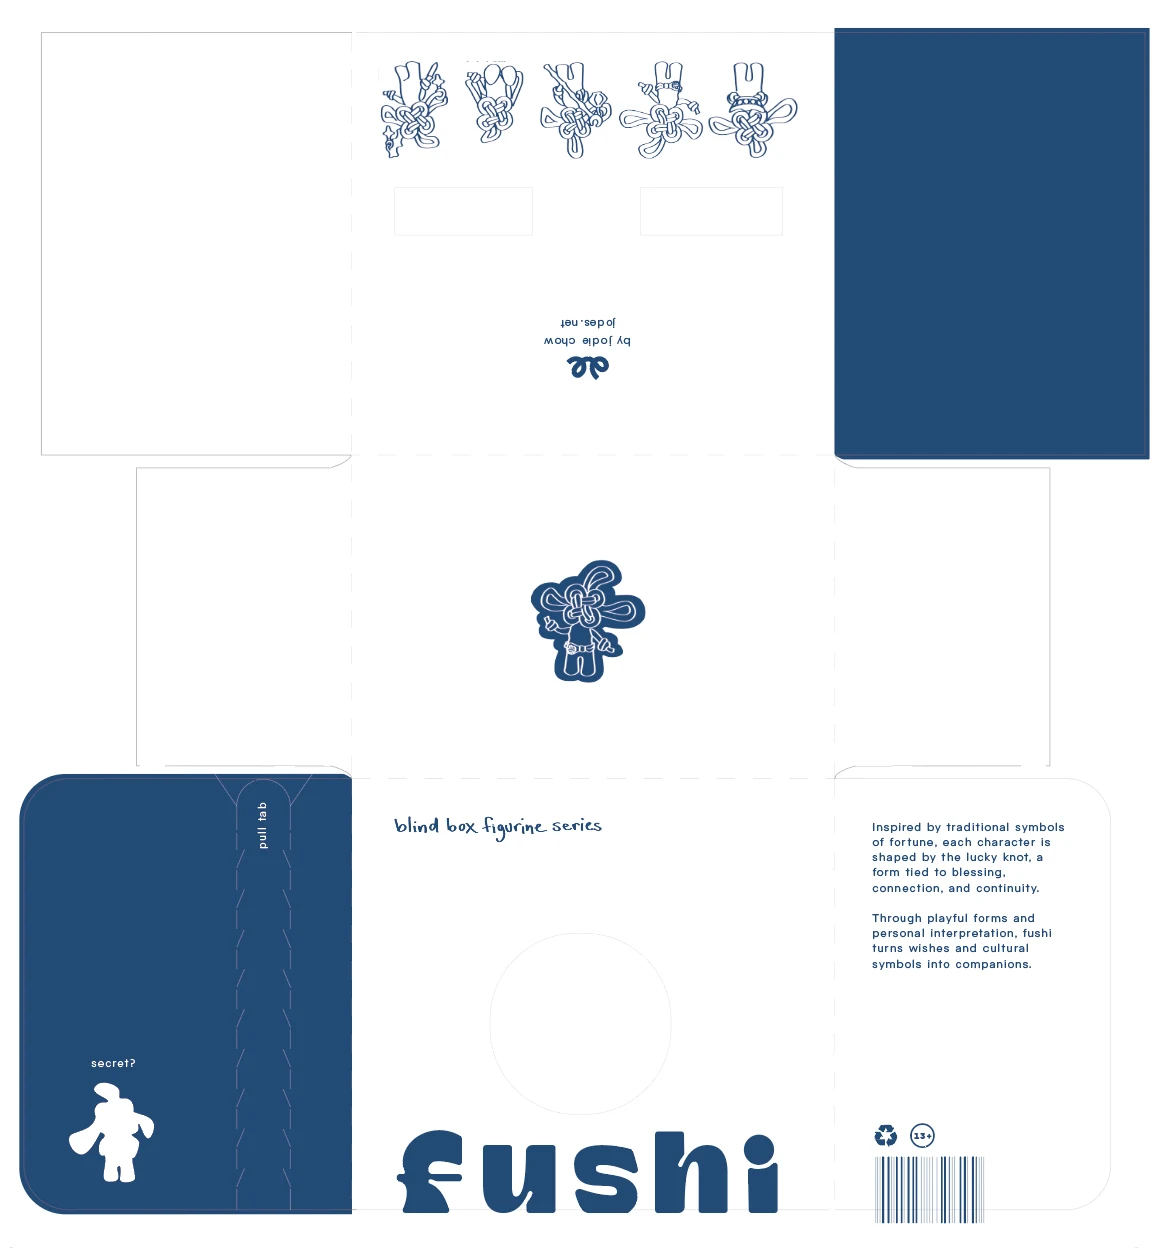
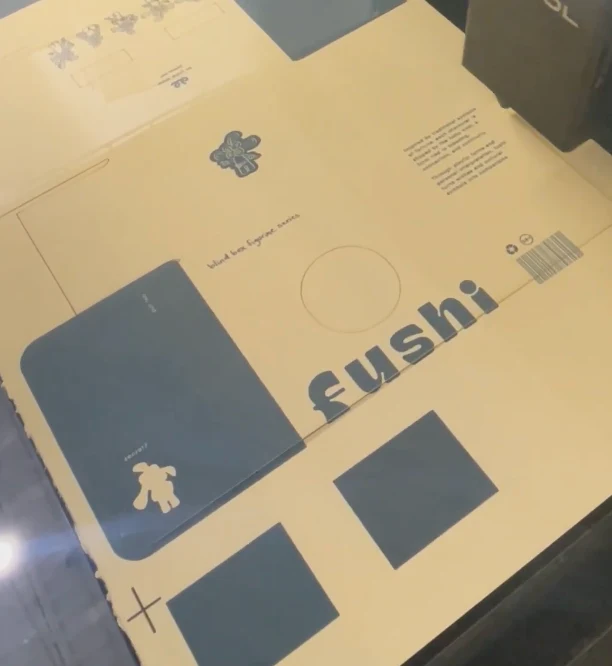
Outer packaging, flatThe final dieline
08
When the material taught me something
I found a watercolour paper that looked beautiful during the initial print tests.
The samples I was given looked great, so I decided to use it for the outer packaging.
Then I laser cut it.
At first, everything looked fine.
But a few weeks later, I noticed something I hadn’t seen initially:
the laser-cut edges had started to yellow slightly from the soot.
The paper and laser cutter turned out not to be the greatest combination.
I was eventually able to remove the visible yellowing with a Tide To Go pen, but the experience taught me something I wouldn’t have learned from the original print test alone.
A material can pass a test and still fail over time.
It reminded me that physical design doesn’t end when something looks good on day one.
Materials have their own behaviour, and sometimes you only discover that through actually making, handling, and living with the object.
Laser cut
Scoring and folding
09
What I learned
FUSHI started as an exploration of form and became an exercise in designing through making. The strongest ideas rarely came first. The box changed when I tested the hinge, the packaging changed when I saw it hid the latch, and the material taught me something weeks after I thought I was done.