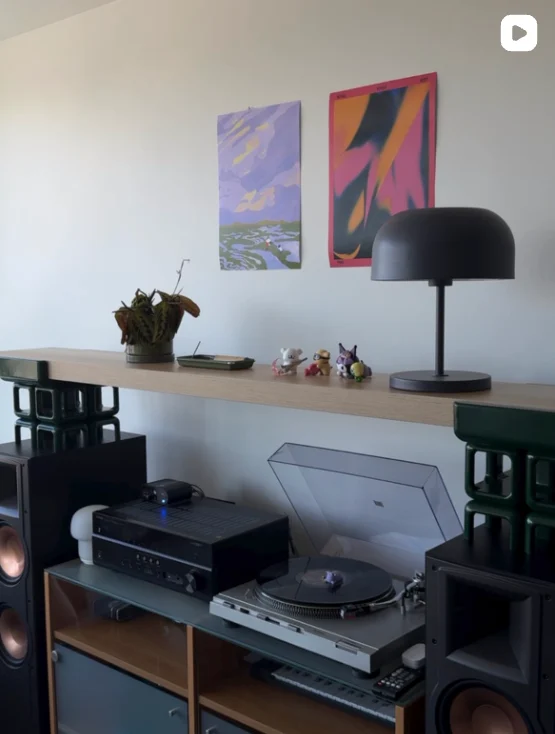
A shelf for the empty space above my speakers.

A height adjustable, 3D printed shelf with soft edges, no nails and no wall mounting, and a lot more sanding than I planned for.

ModularHeight adjusts by adding or removing a layer of four cubes
Tool-freePress-fit inserts, tested for easy removal and reassembly
83 hrsTotal print time, 2.1 kg of PLA
2 roundsA small prototype for tolerances, then real scale
Loading model…Drag to rotate
01

The empty space

Role
Design, CAD & finishing
Timeline
2025 to 2026
Made for
The space above my speakers
Tools
Fusion 360, FDM printer, sanding, spray paint

There was all this space above my tower speakers, doing nothing.

I wanted a shelf there, but I didn’t want to drill into the wall for it. Honestly, I was too lazy to put holes in the wall, so it had to stand on its own.

I also couldn’t decide whether the record player and the amplifier should be stacked or sit side by side, and I wasn’t sure there would be enough clearance for both. So I made the height adjustable, and let the shelf answer that question later.

02

The design

Soft edges, to offset all the sharp rectangles in my room.

Most of my furniture is hard and boxy, so I wanted something rounded. It was heavily inspired by Kay Leroy Ruggles’ Umbo Modular Shelf Unit, and I suspect rounded edges are going to keep showing up in what I make.

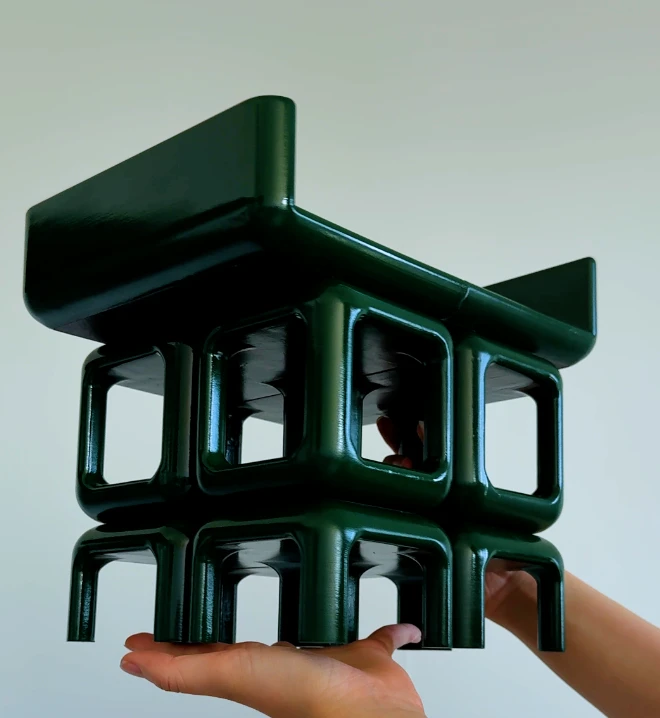
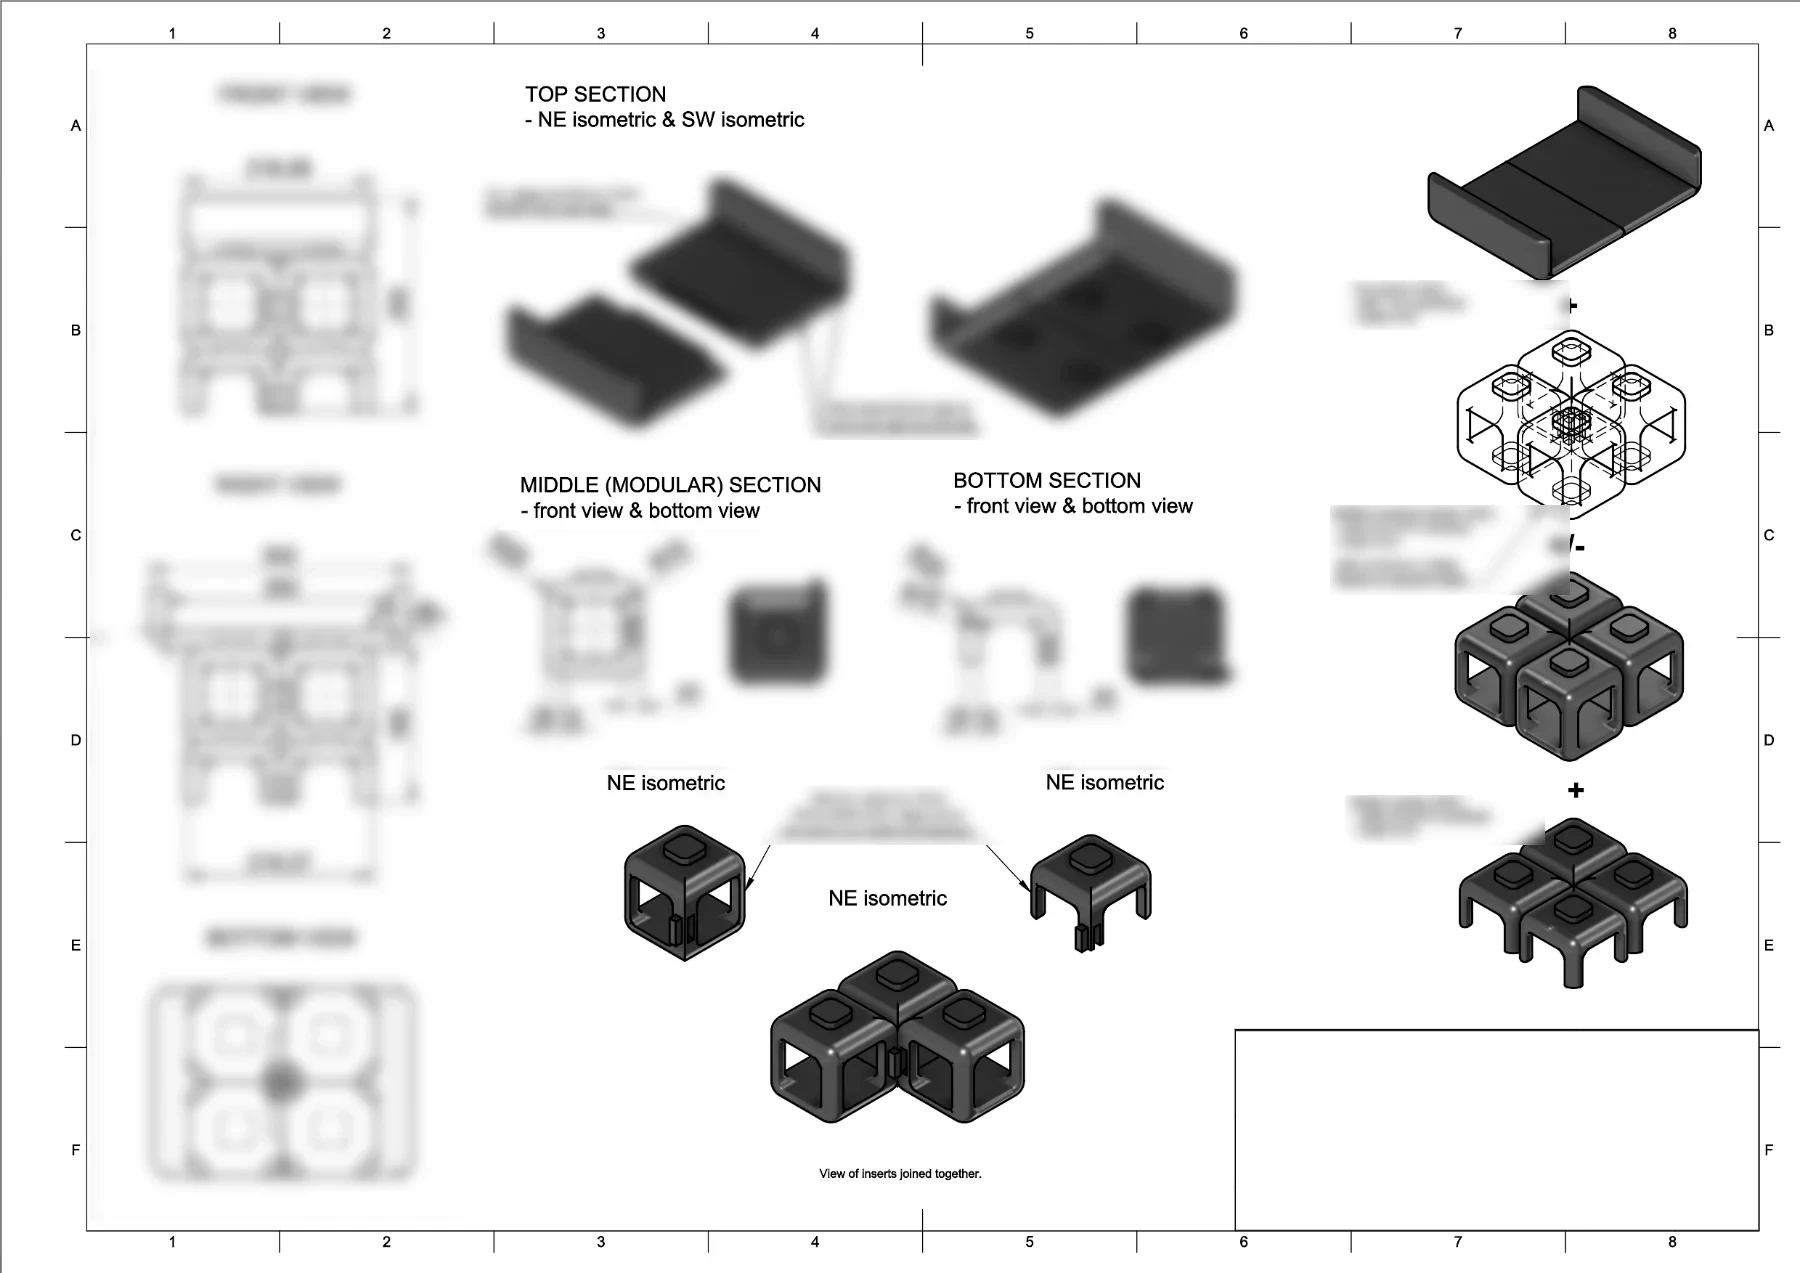
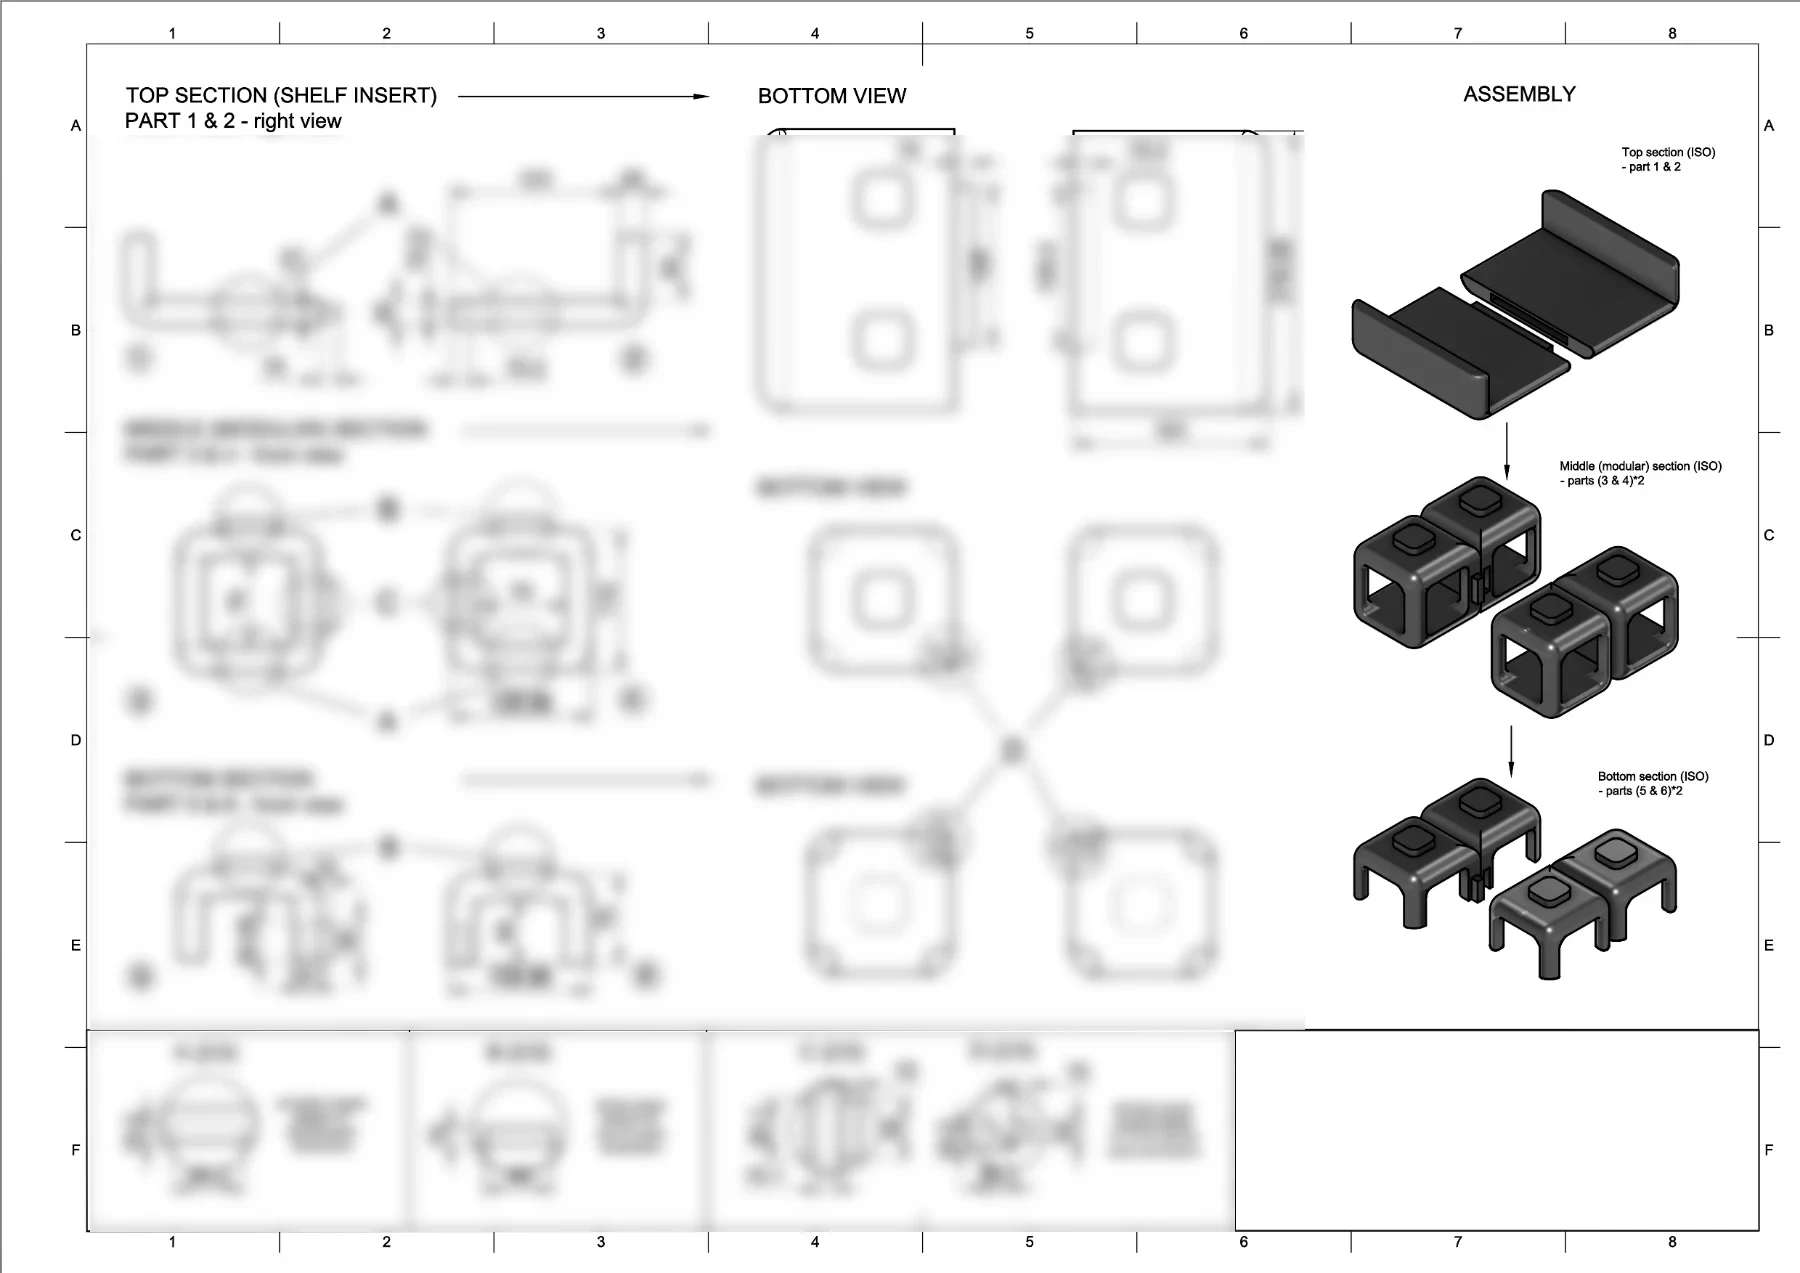
I modelled it in Fusion 360 as three stacking parts: a base with legs, a middle layer of four rounded cubes, and a tray on top. Adding or removing a layer changes the height. I also made a set of tech sheets, mostly because I wanted to learn how.

Tech sheet 2 of 2, partly hidden underneath
Tech sheet 1 of 2: section views, insert details and assembly of the modular shelf stand, with dimensions blurred
Tech sheetsTwo sheets drawn up in Fusion 360, dimensions blurred
03

Prototyping

Before printing it full size, I printed a small one.

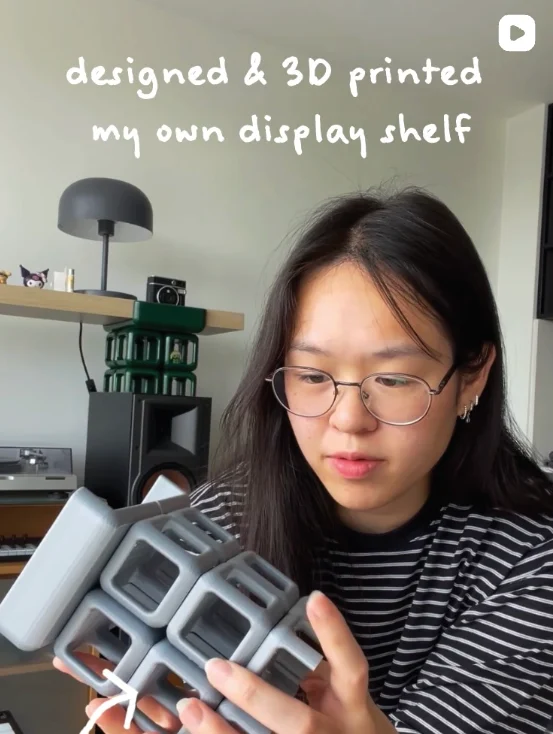
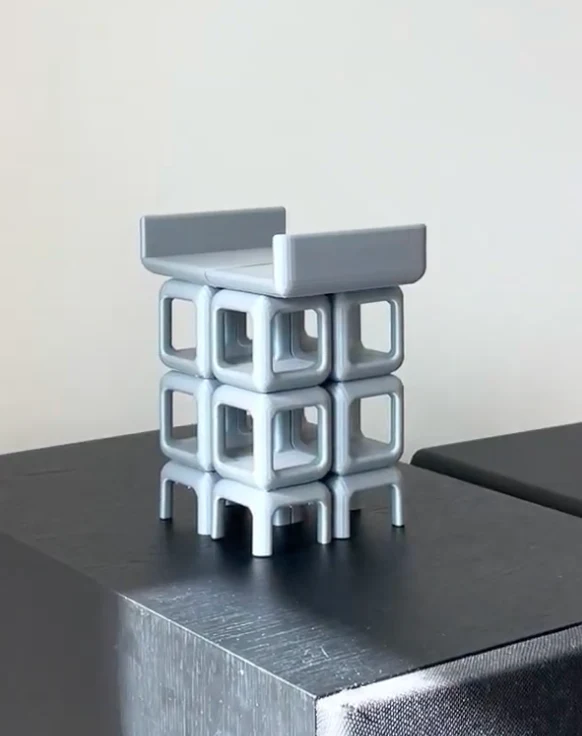
A scaled down prototype let me work out the offset tolerances, how much clearance the inserts needed to slot together without being loose. I had friends try the inserts too, pulling them apart and putting them back together, to make sure they weren’t too hard to remove.

Everything was grey at this point. My friends pointed out that the colour didn’t reflect the design or how the piece would be used, so I decided the final one would be green. Then I printed it at real scale and tested it on top of the speakers before starting on the finish.

The small grey prototype of the shelf, standing on a speaker
Small prototype
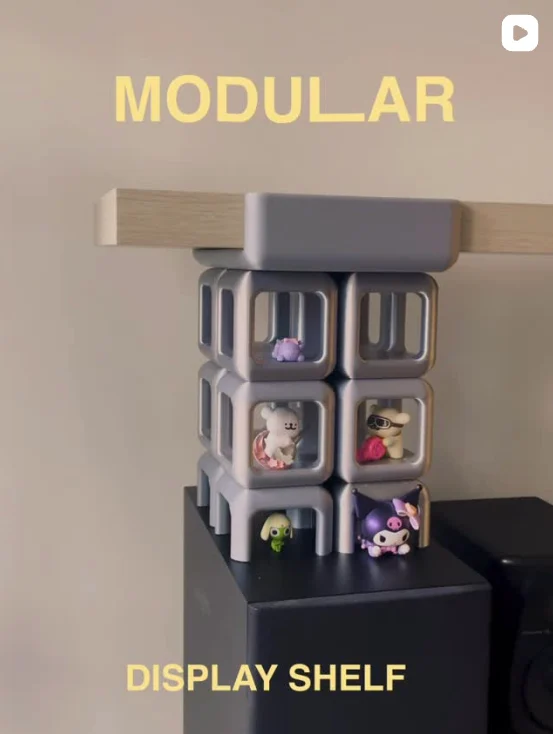
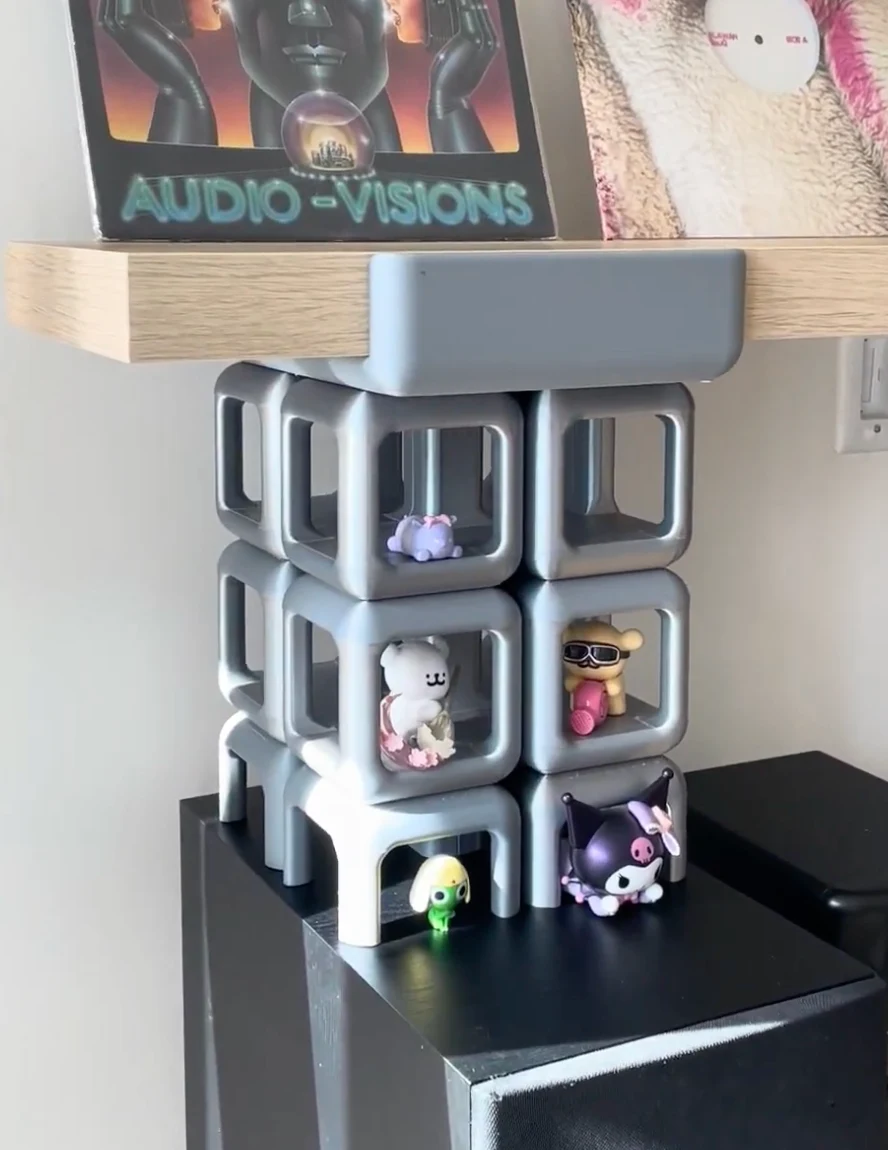
The real scale grey print on a speaker, holding up a record shelf, with small figures inside the cubes
Real scale, before sanding
04

Two months of sanding

I expected a smooth model straight off the printer. That’s not what I got.

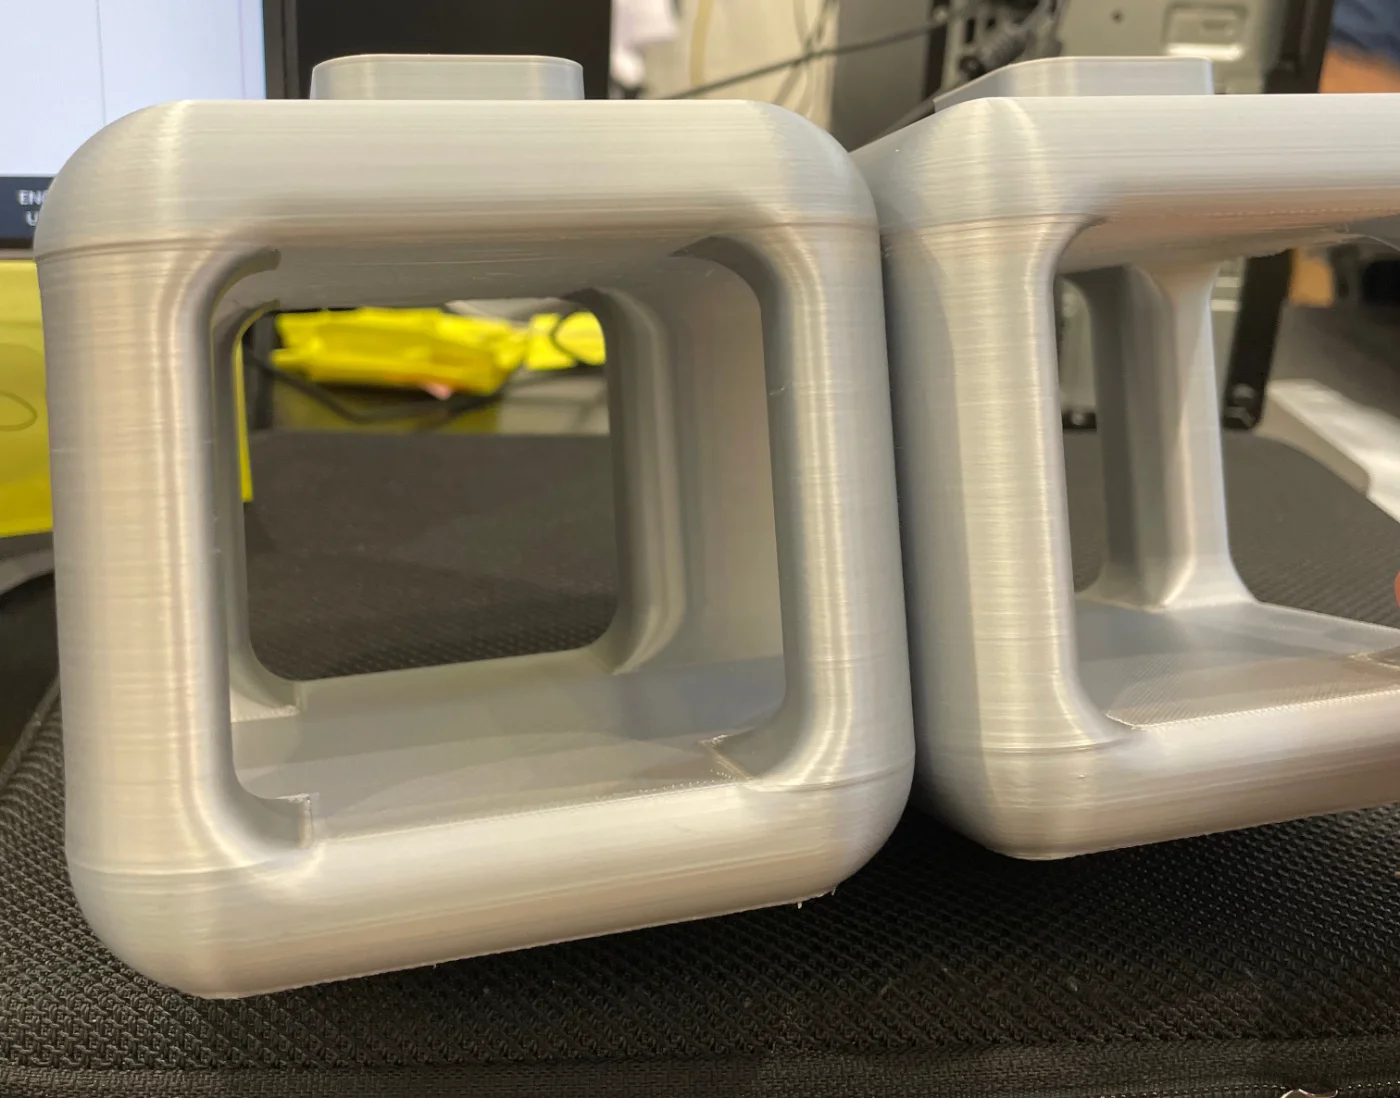
The columns came out with layer shifts, probably from print speed, and the roof of the model was rough because of poor support settings. I could likely have fixed some of it in the slicer. Instead, I spent the next two months sanding.

And sanding. And sanding.

Two printed cube sections in grey PLA, with visible layer shift lines running across the columns
Off the print
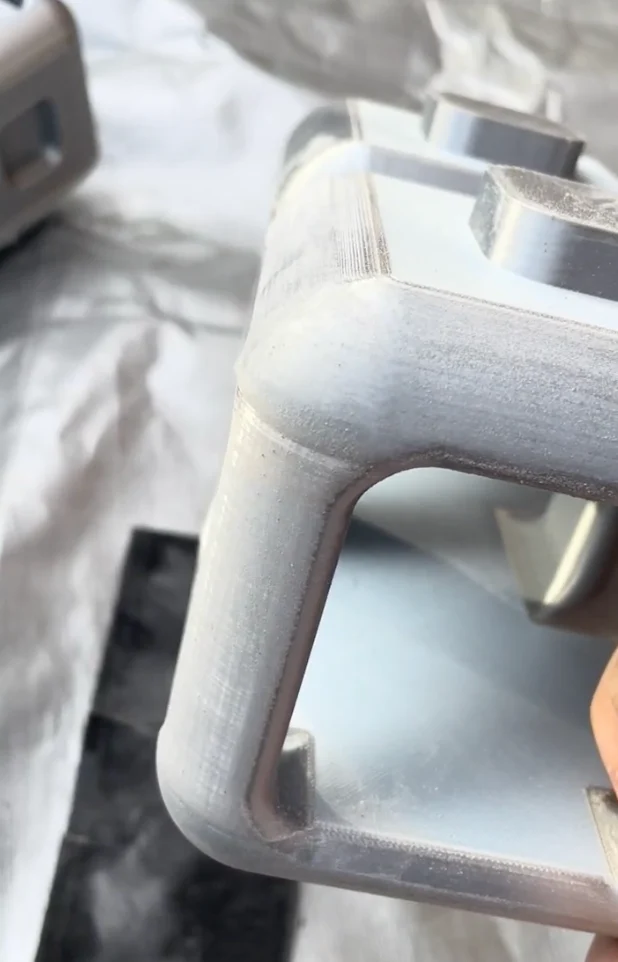
A cube section after sanding, the layer lines blended into a matte surface
Sanded

I had never sanded a 3D print before. Working out what to sand, how much, which grit to use and how to prime it was its own project. I read up on techniques, bought tools and taught myself as I went, waiting to see what each step did before moving on to the next.

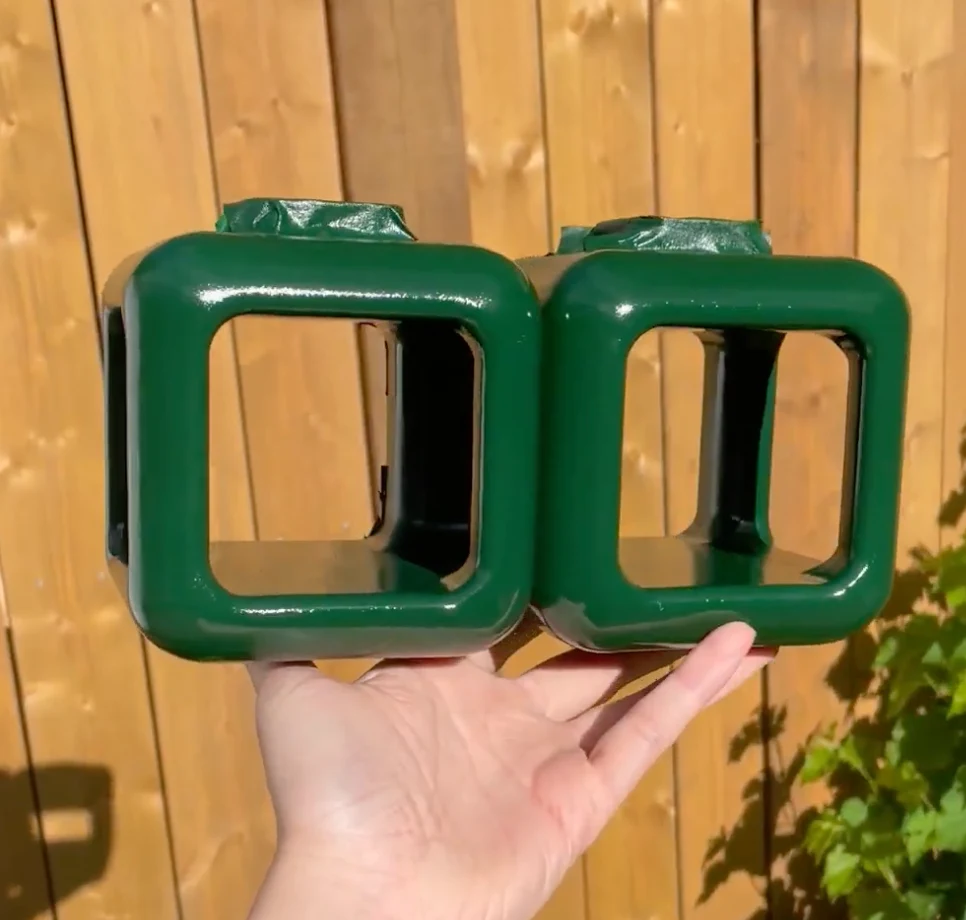
Two cube sections primed and painted glossy green, held in one hand
Primed and painted
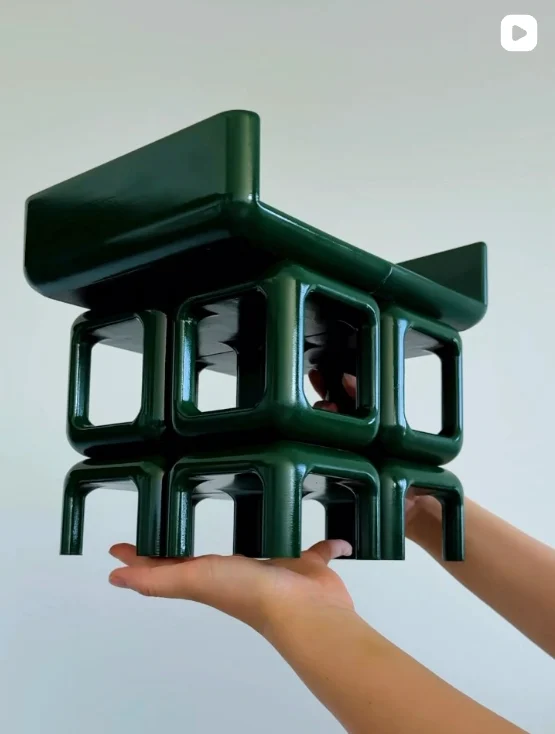
The finished shelf in dark green, held up in two hands
Finished
05

Watch the process

I filmed the whole build, start to finish, in four short videos on Instagram.

06

What I took from it

01

Printers don’t print what you picture

There was a real gap between what I expected of the final piece and what a 3D printer could realistically give me. Next time, I’ll fix more in the slicer before printing.

02

Finishing is a skill of its own

Grits, sanding order and priming were all new to me, and most of that learning isn’t visible in the final piece.

03

Patience

Waiting to see how each step changed the result was a real test. I’m pretty proud of how it turned out.